Precision.
Accuracy of HEDELIUS machining centres.
Many factors play a role in achieving a certain workpiece accuracy. On the one hand, there are the machines themselves. The type, components and software all have an influence on the machining result. However, there are also many accompanying factors to consider, from the location of the machine to measuring equipment, clamping devices and tools through to the qualifications of the employees.
Thoughtful type.
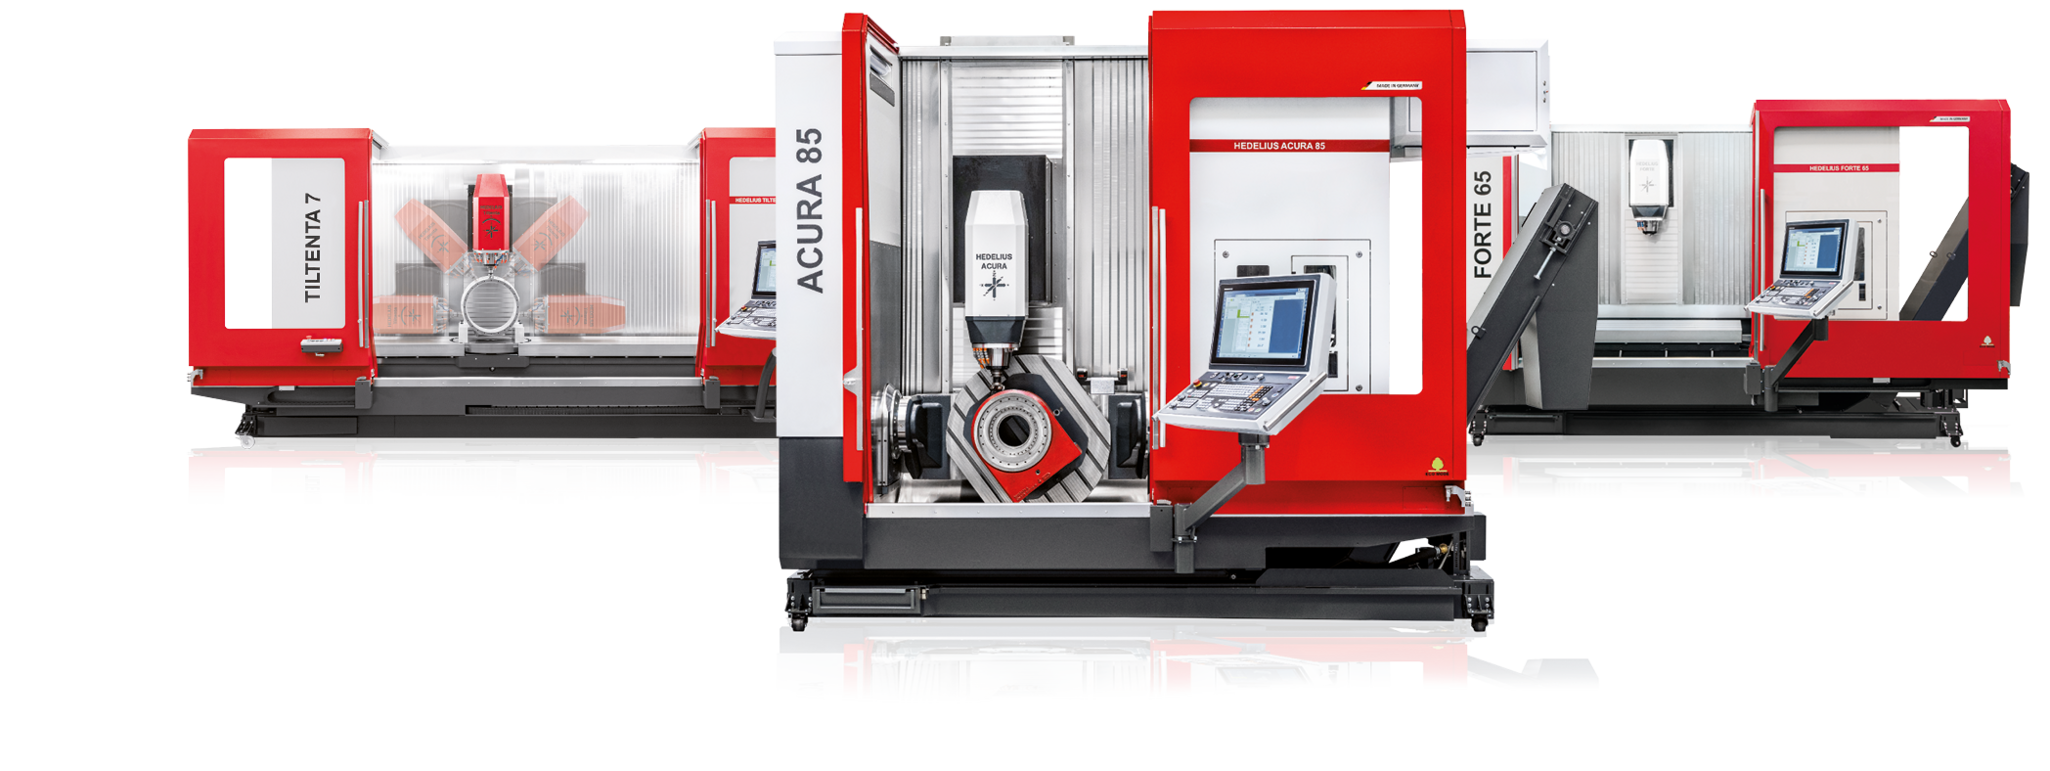
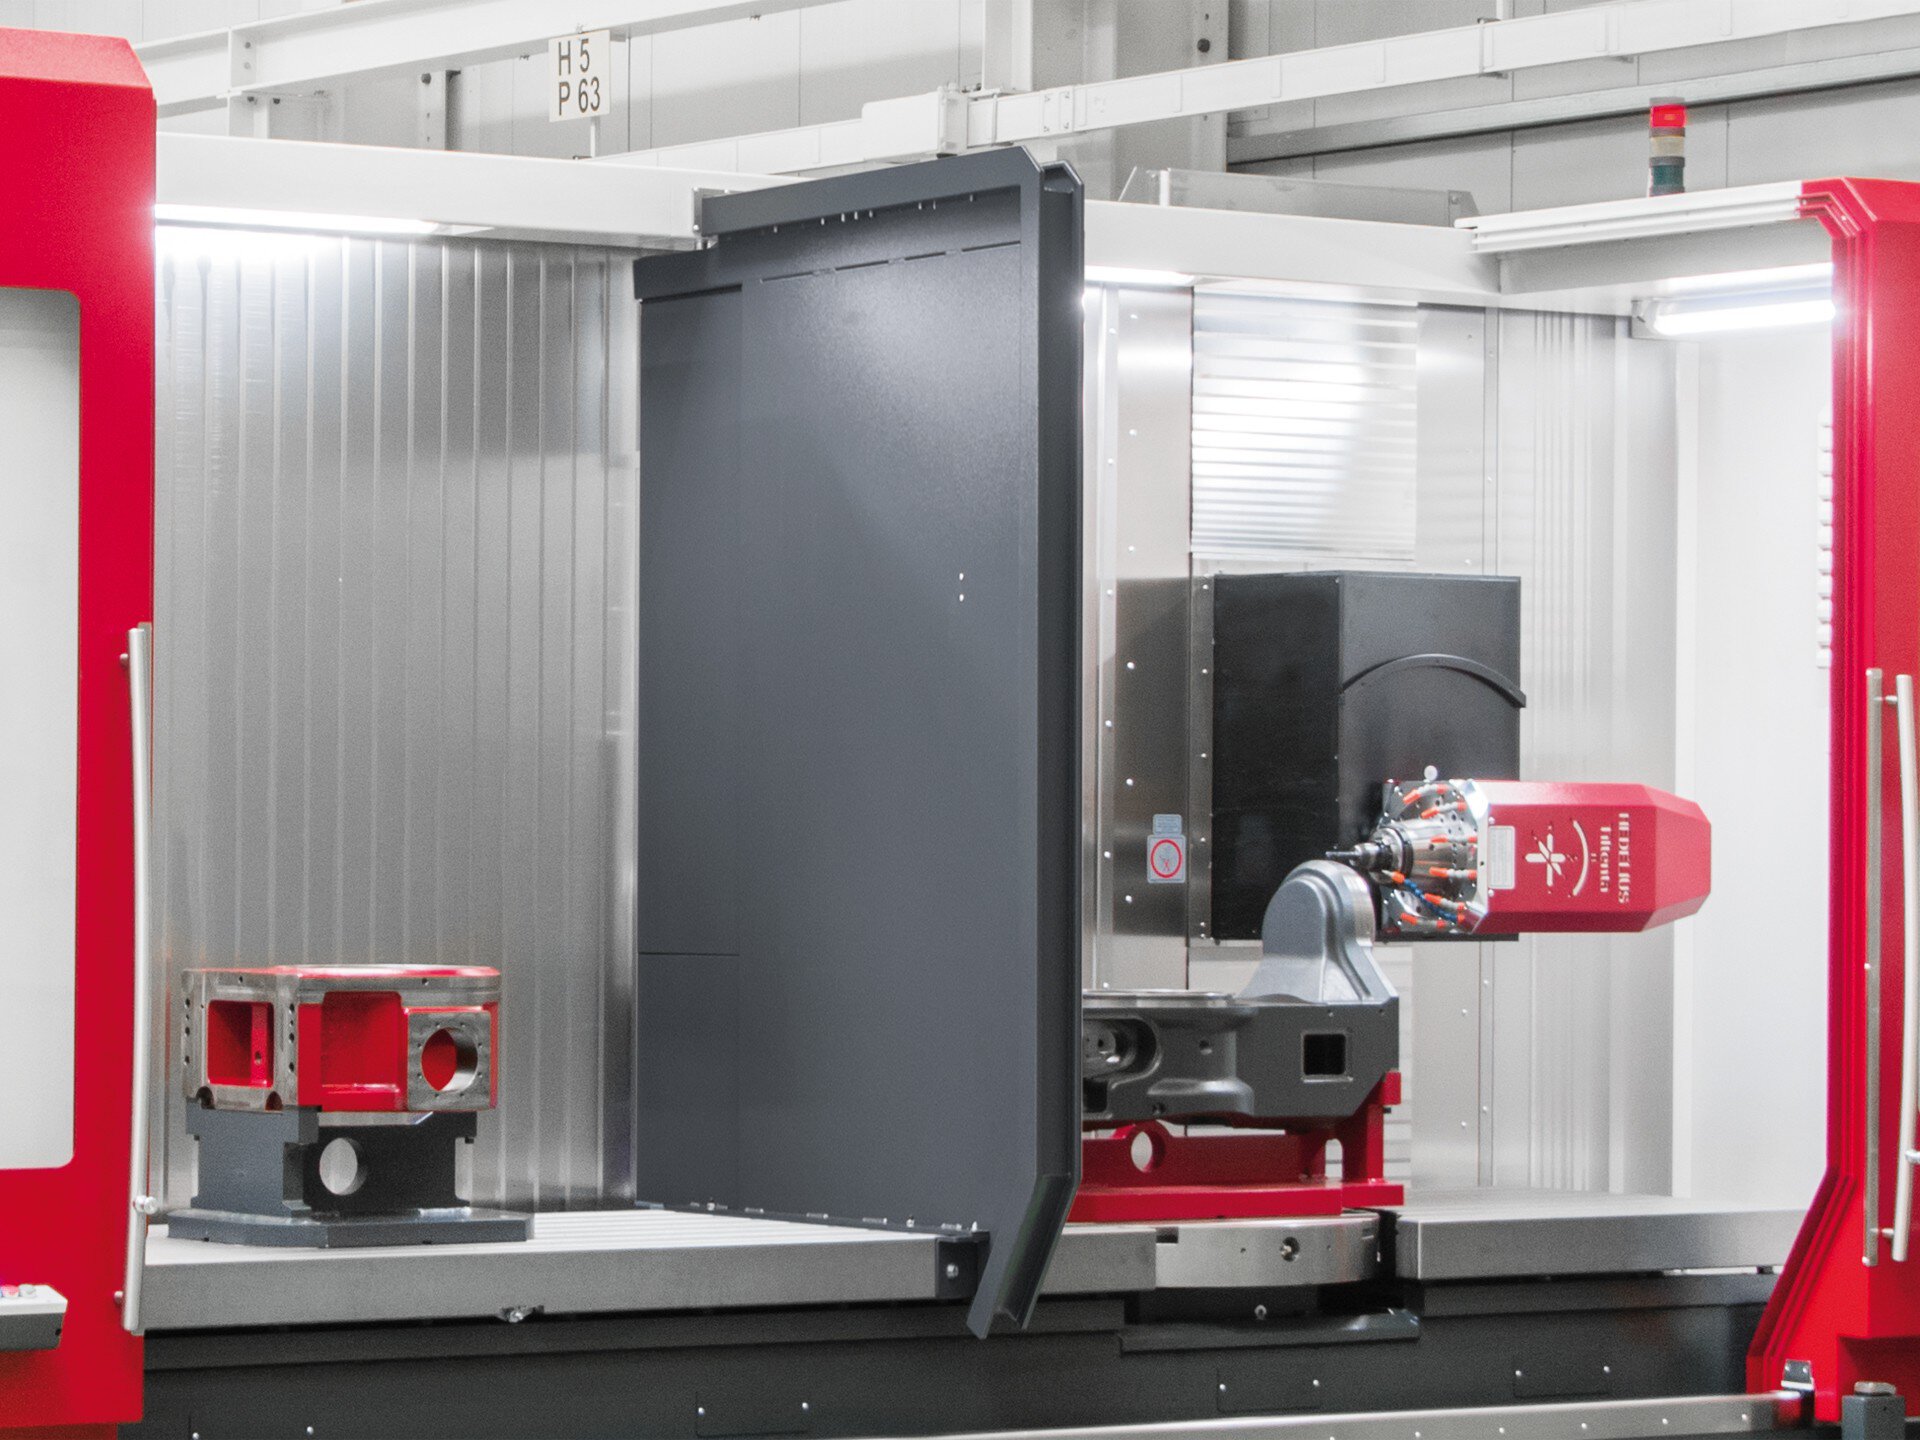
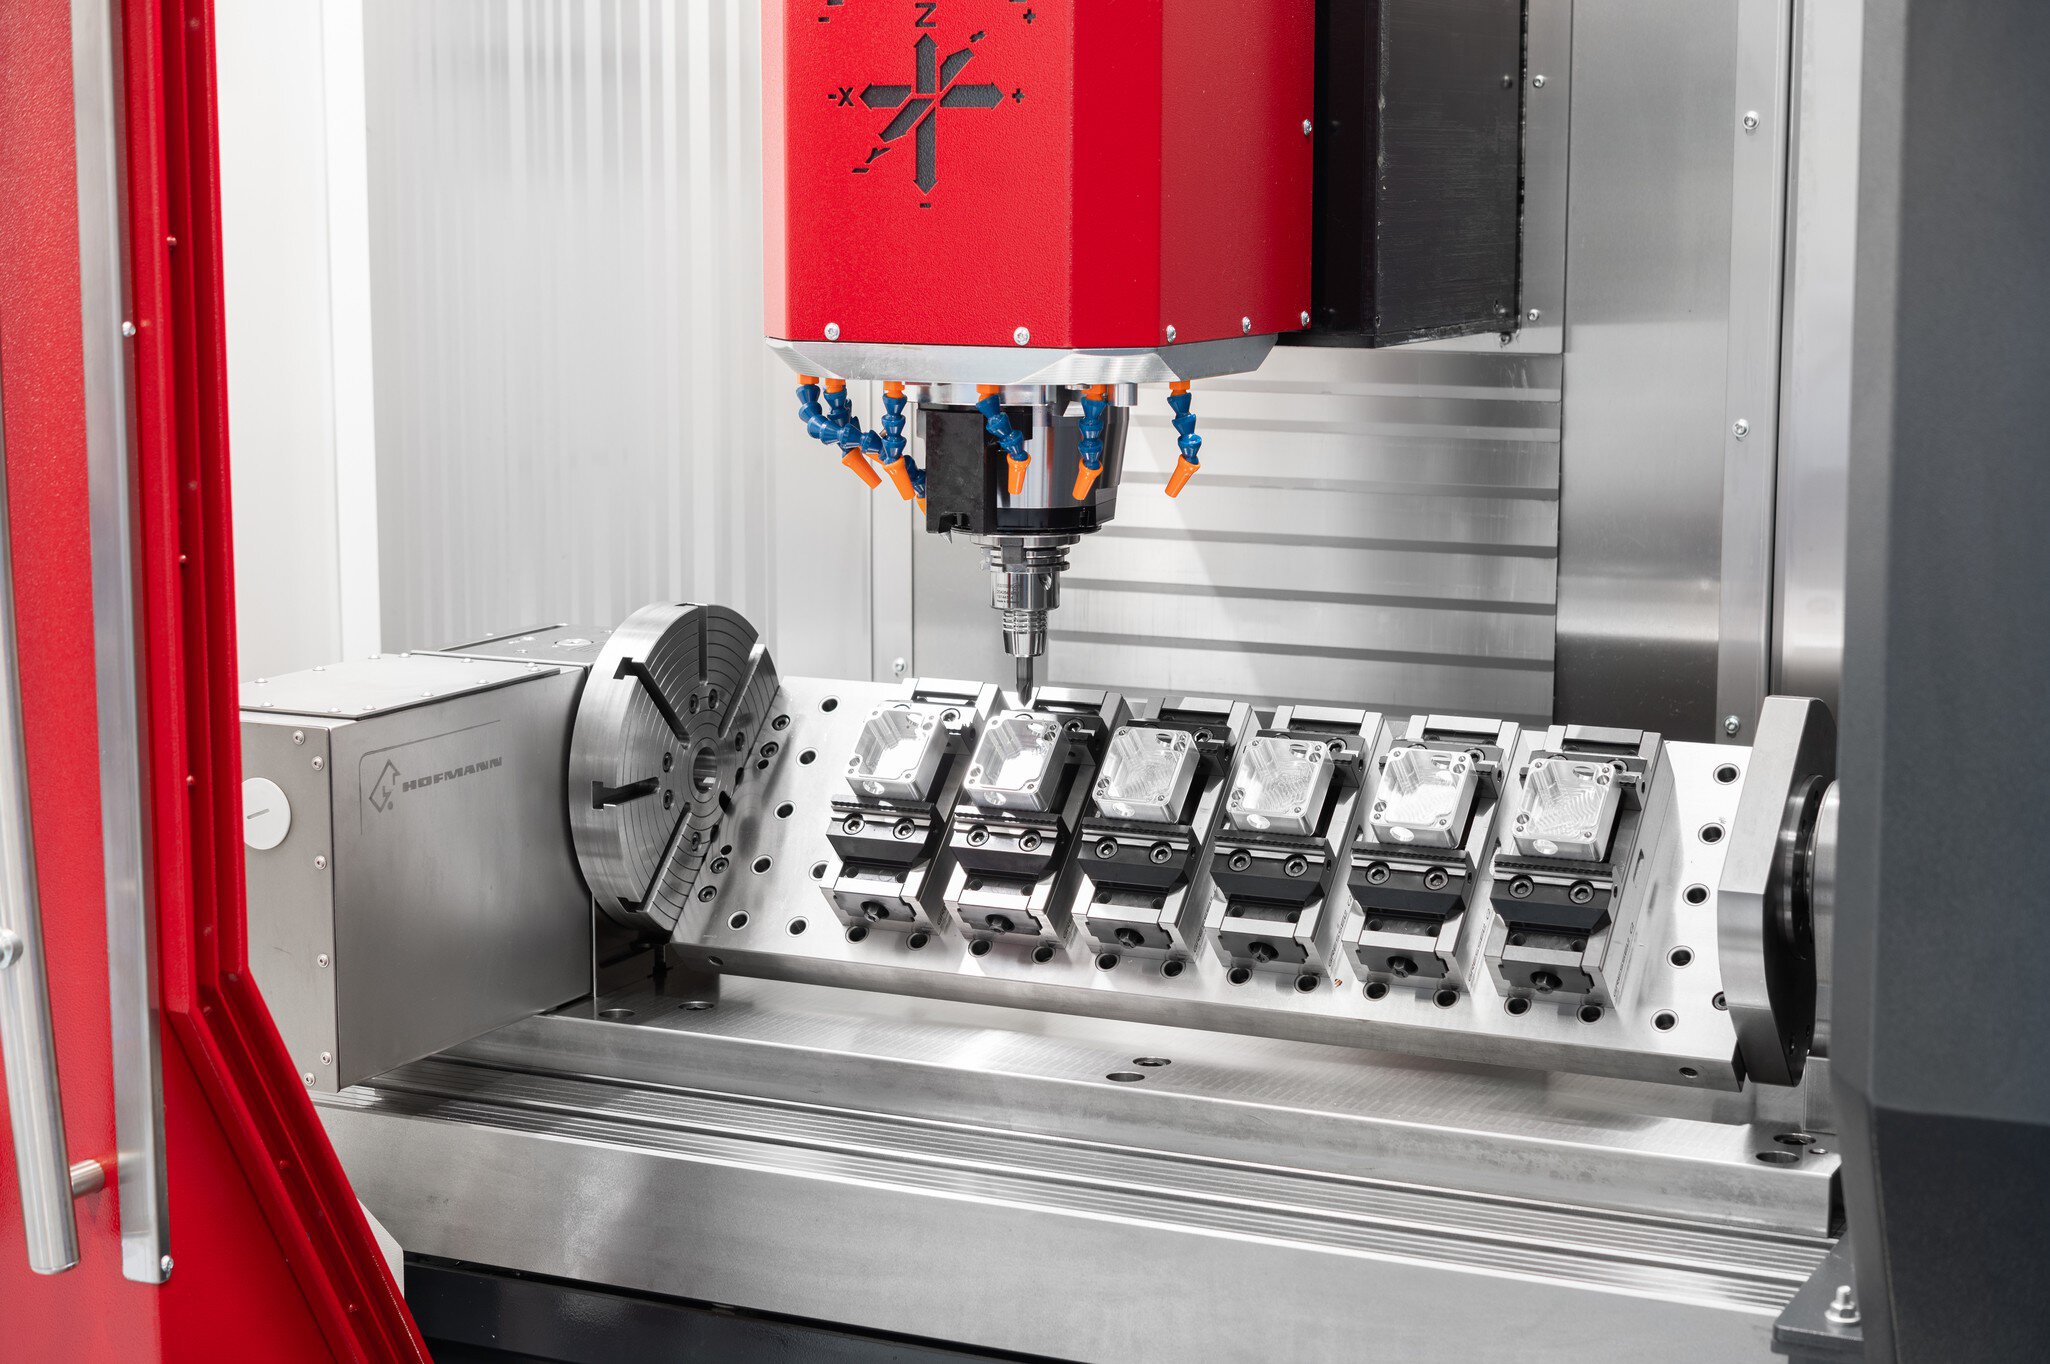
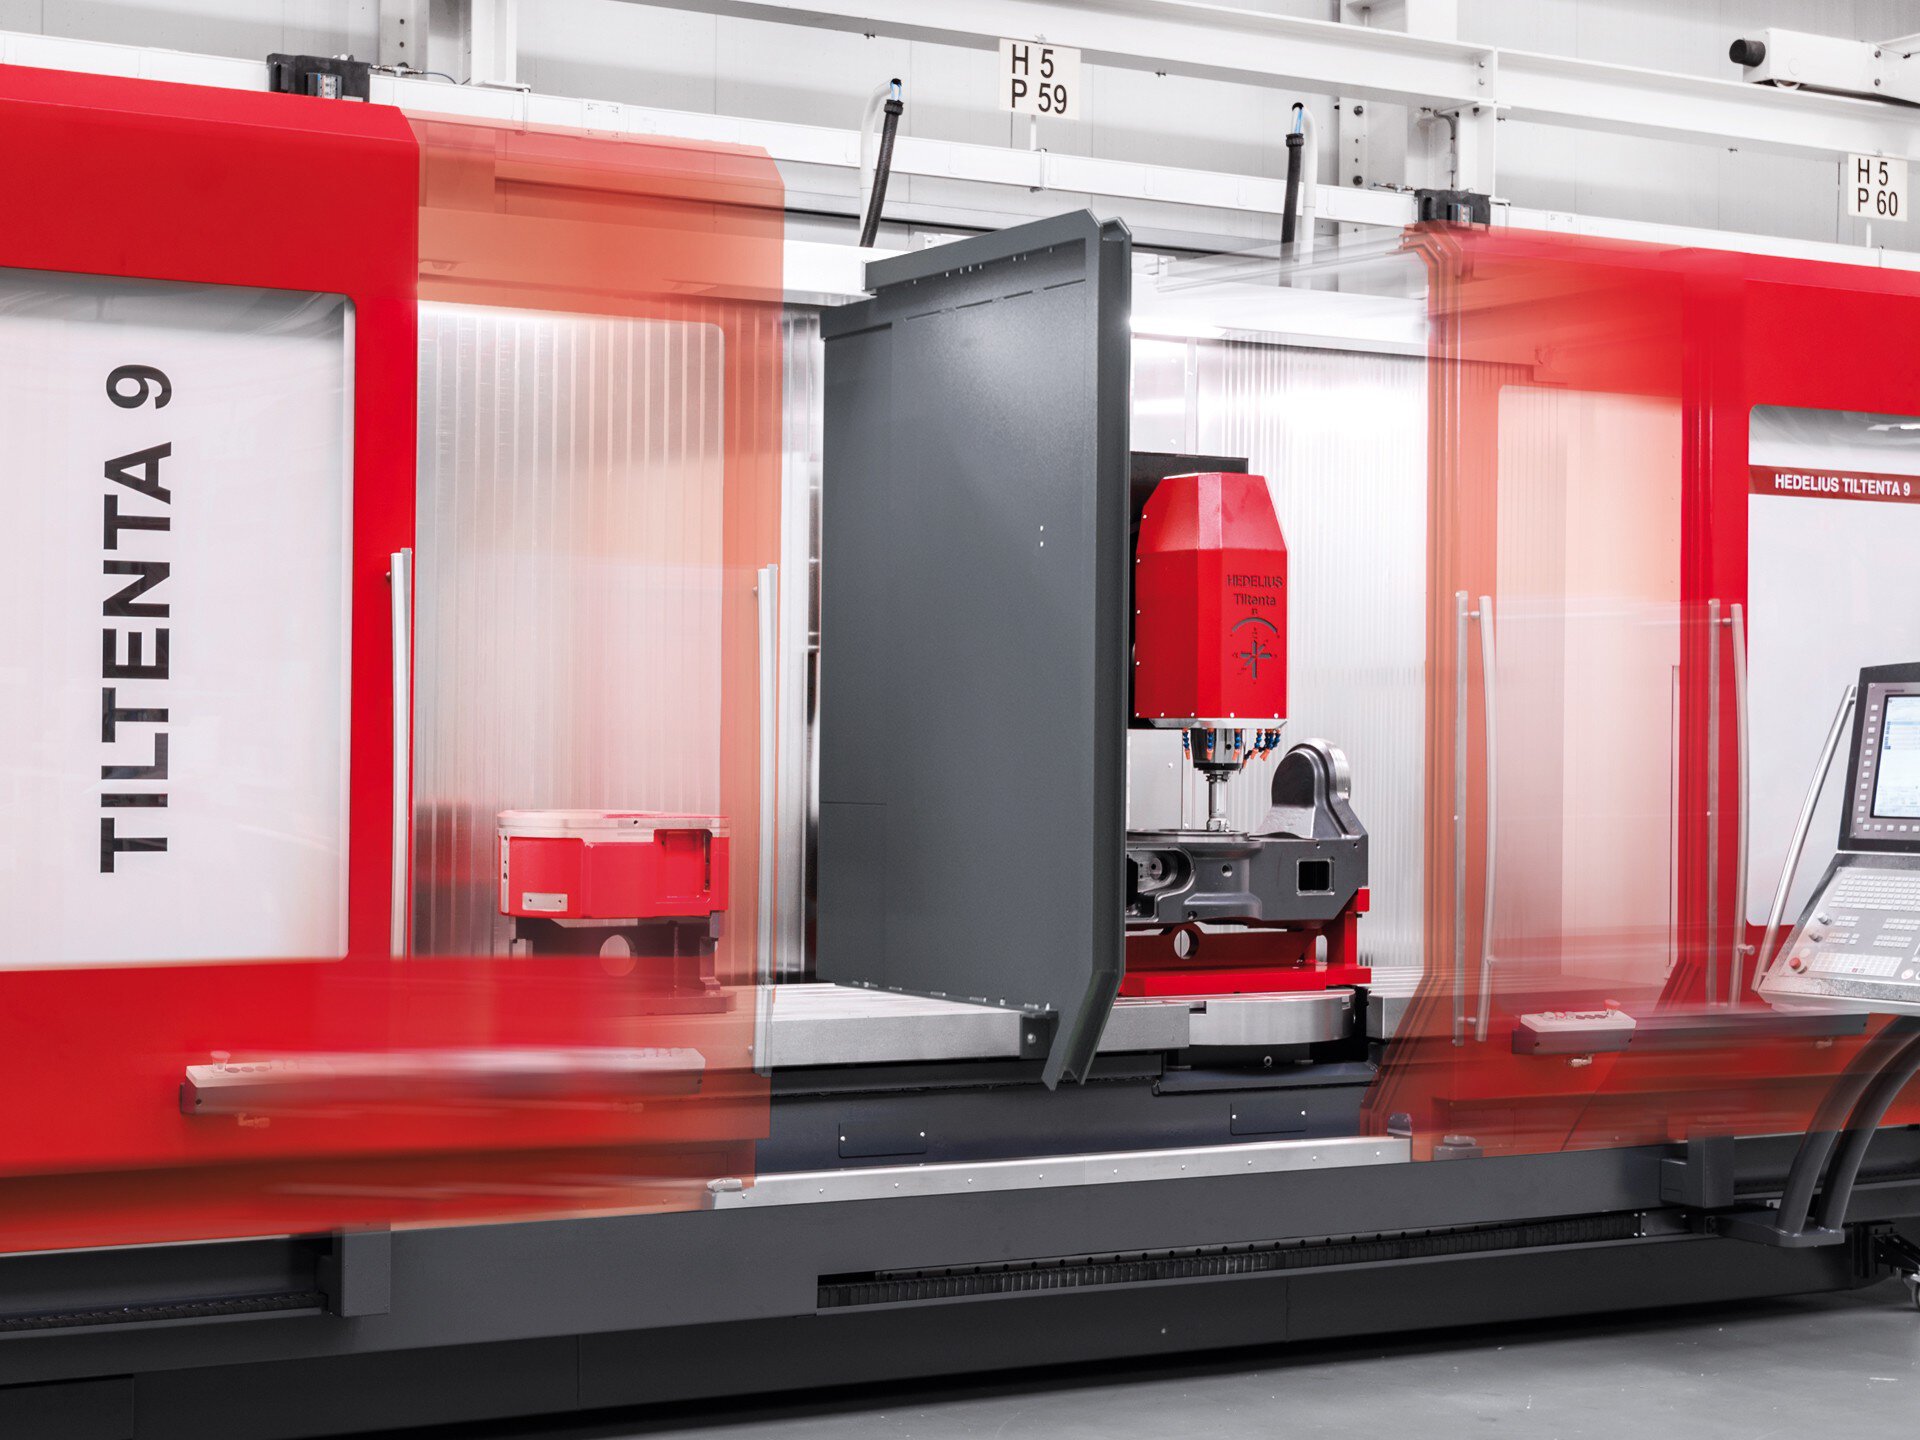
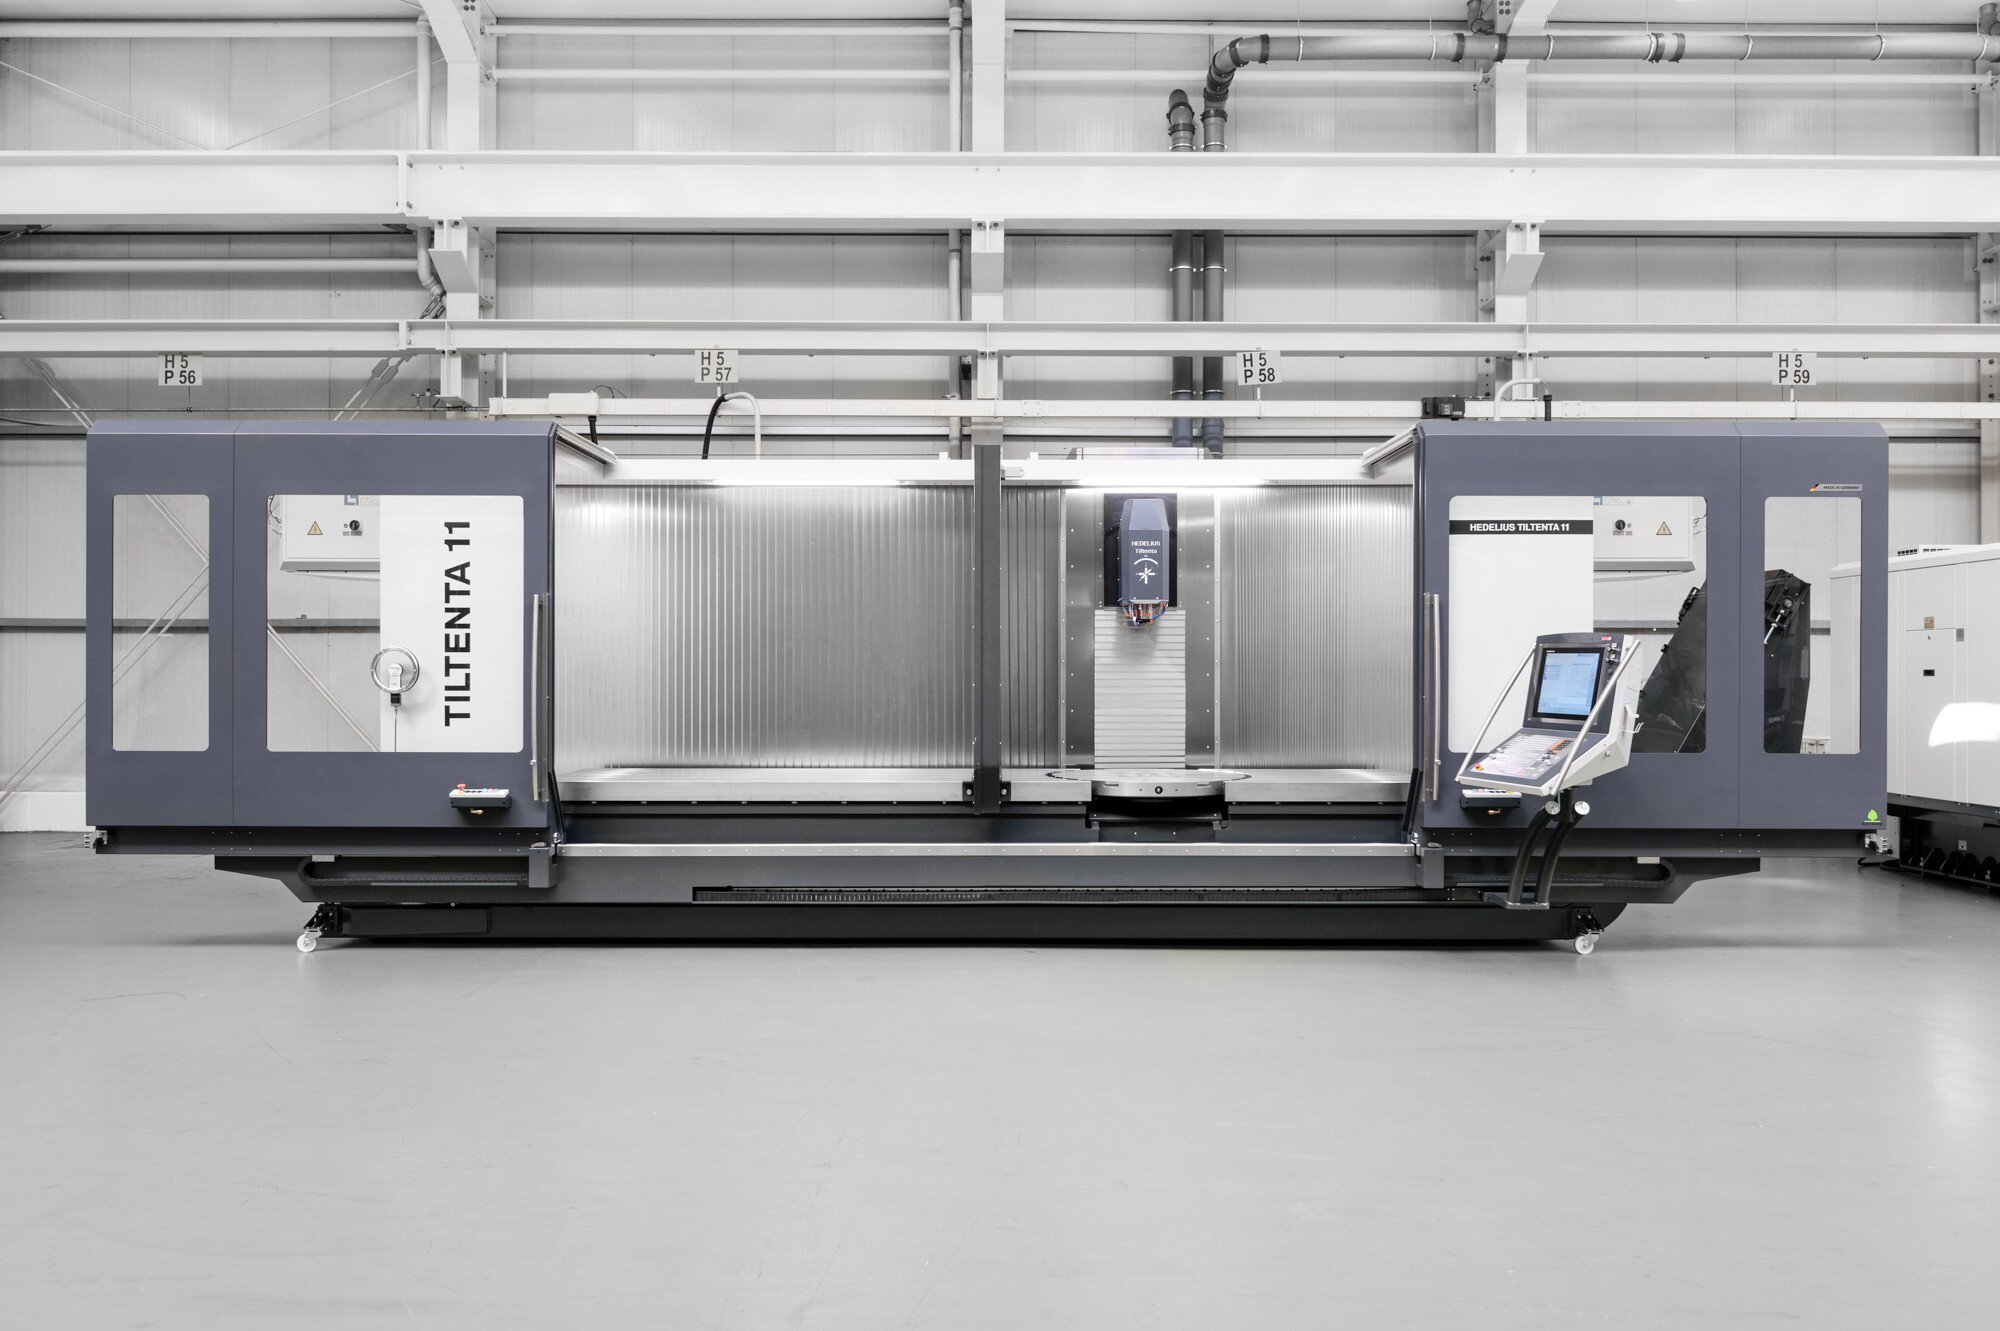
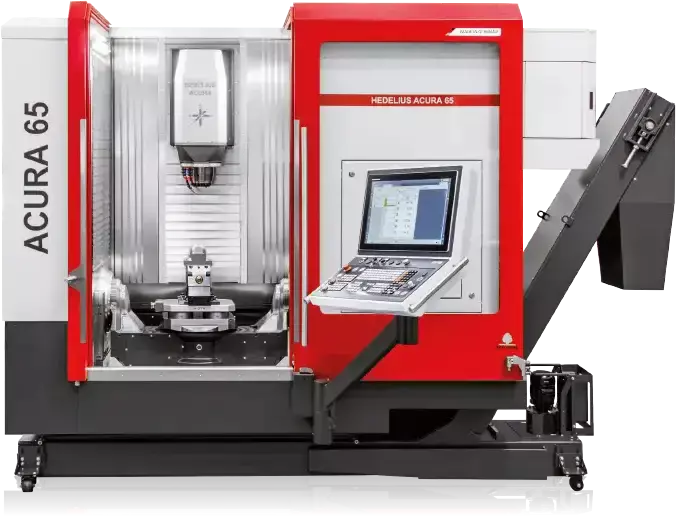
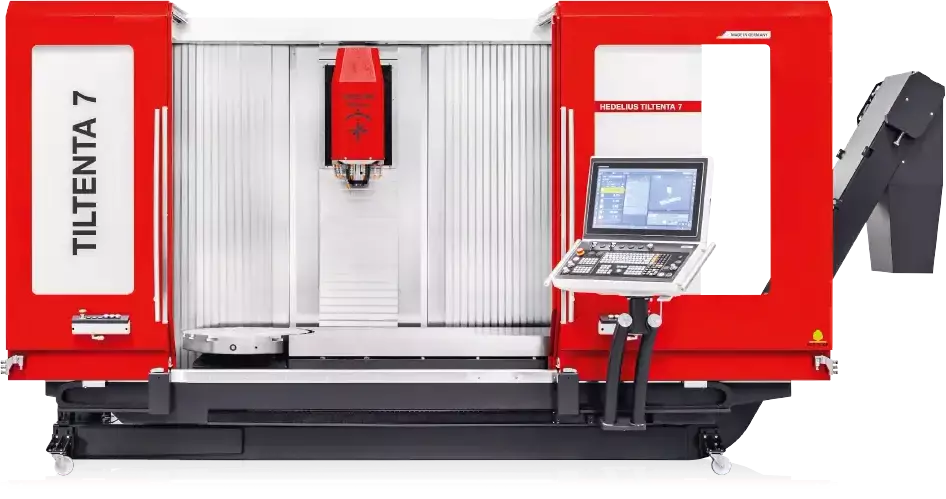
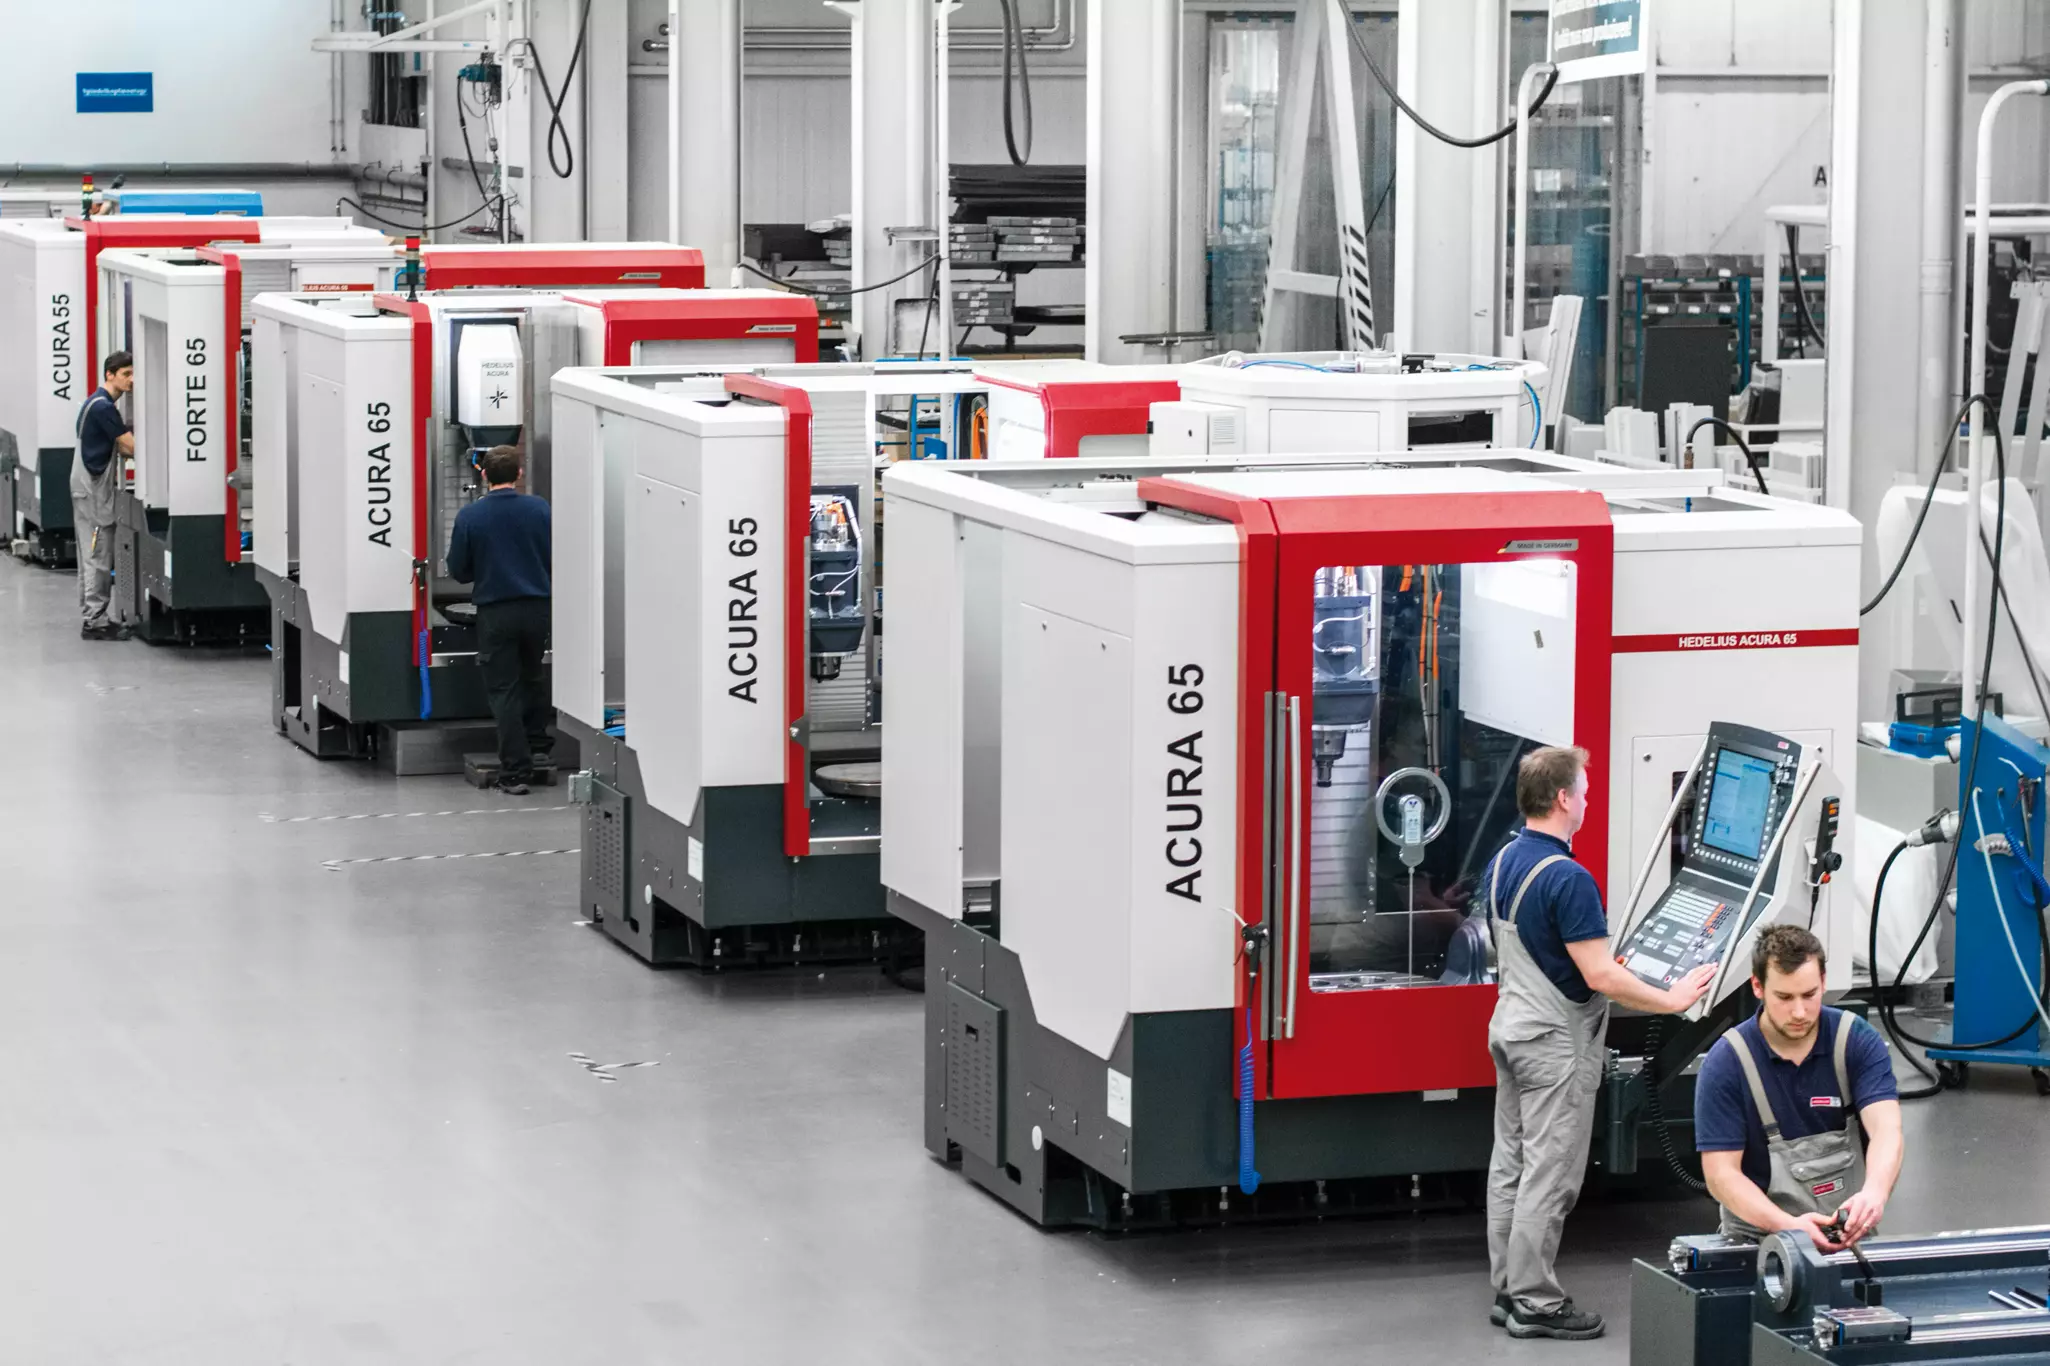
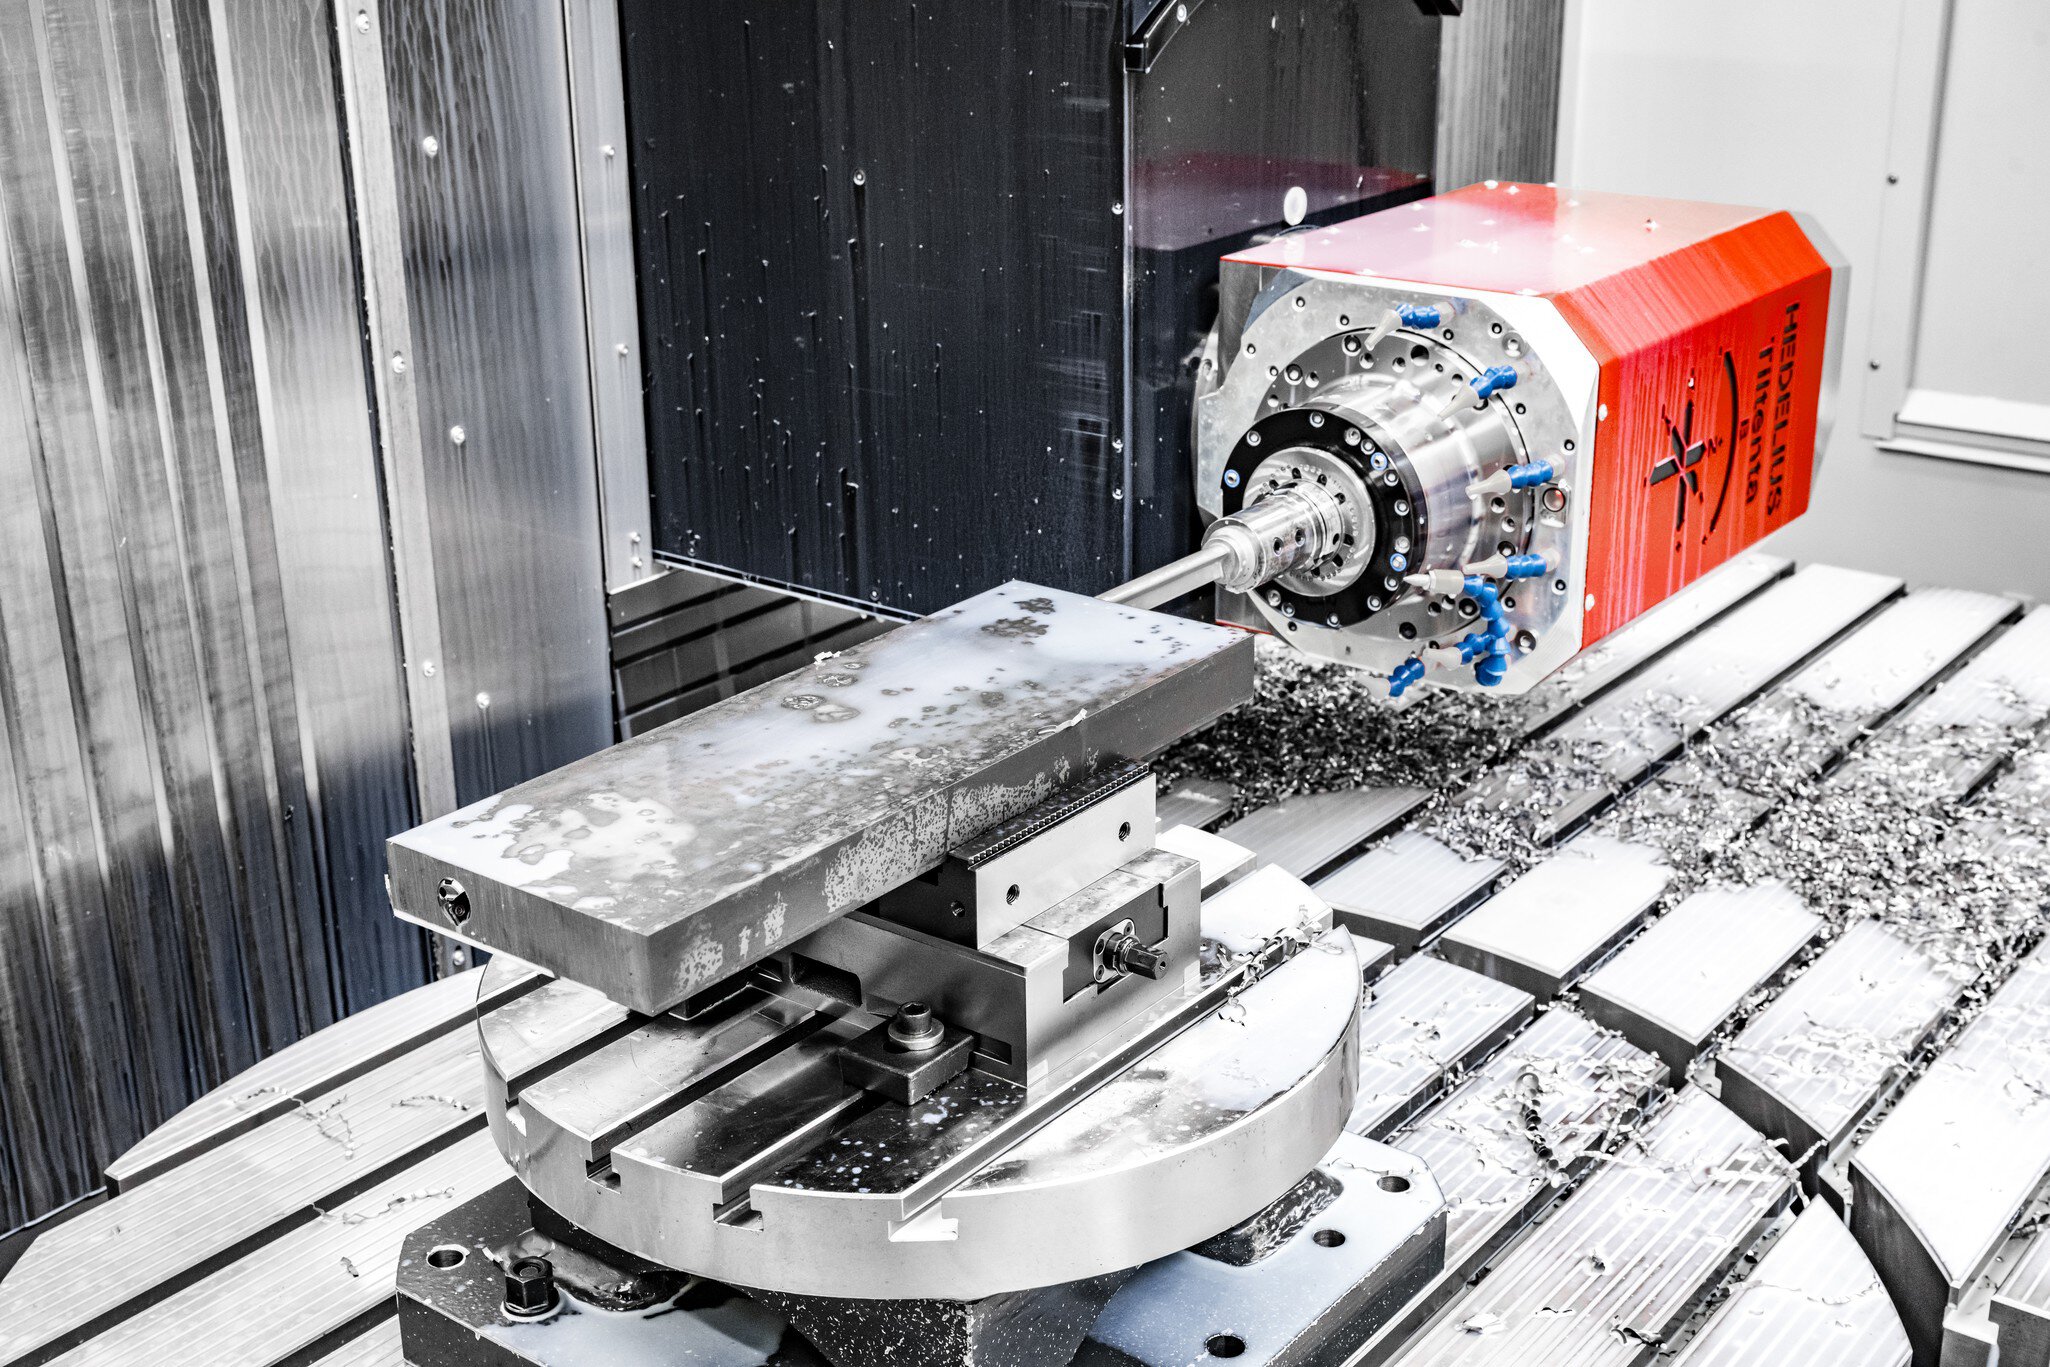
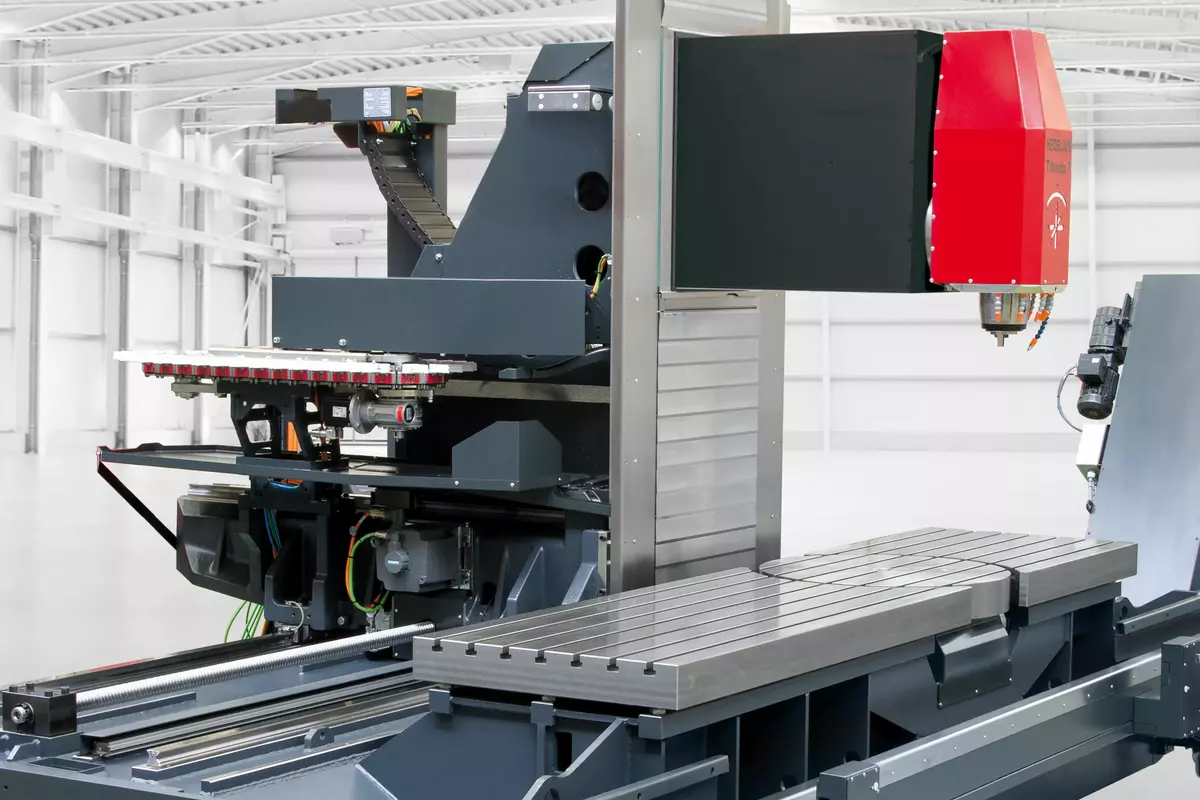
In the first phase of every new machining centre development, criteria such as stability, accuracy, dynamics, automation capability, space requirements, transport dimensions and manufacturing costs are in conflict with each other and must be weighted in dependency of the planned area of application. Conceived as universal machining centres for a wide range of applications in machine and tool construction, HEDELIUS places greater weight on stability and accuracy during the design phase. The result of this process was the special type of TILTENTA machining centres with the constantly cantilevered Y-axis and the resulting high rigidity and precision over the entire travel range of the Y-axis and Z-axis. The results were so convincing that the compact 5-axis machining centres of the ACURA series were also developed on the basis of this type.
Long-term precision.
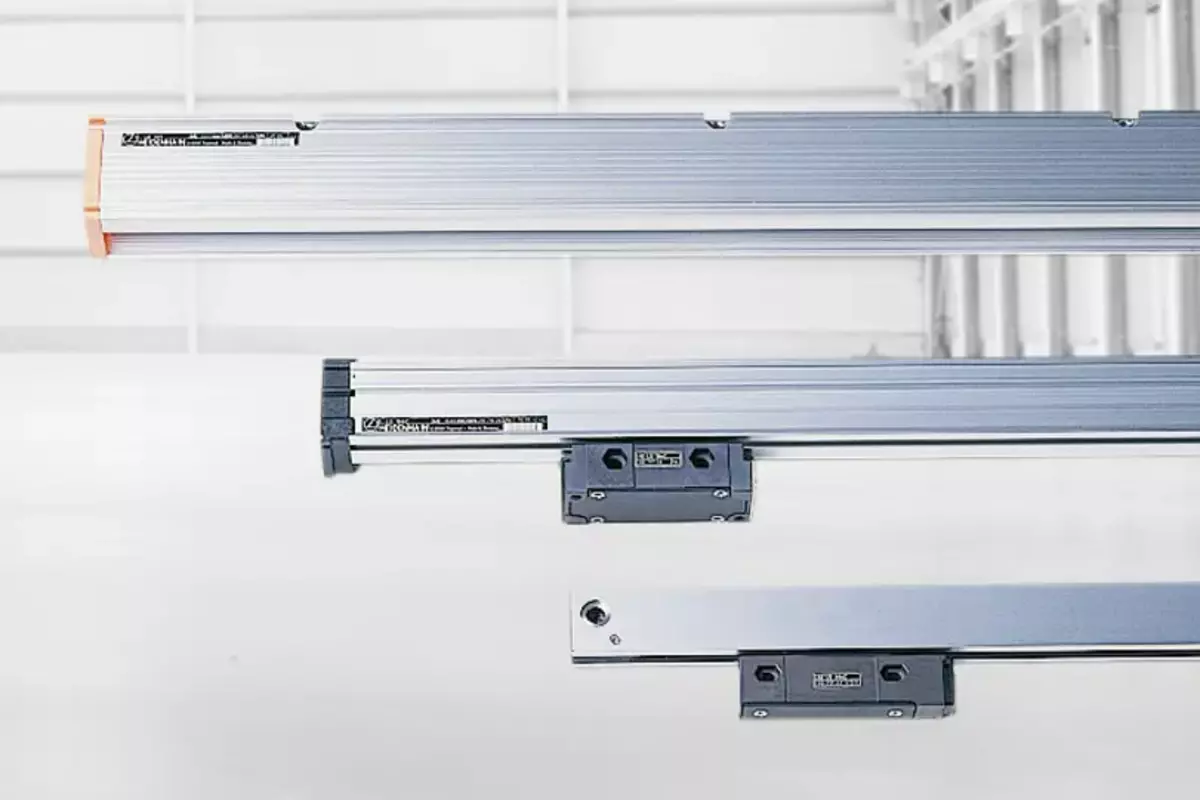
HEDELIUS only uses direct linear measurement devices for position detection of the X-axis, Y-axis and Z-axis. This means that the position control loop encompasses the entire feed mechanism. This is referred to as "closed loop" operation. Transmission errors in the mechanics can thus be detected by the linear measurement device on the feed axis and corrected by the control electronics. This eliminates a number of possible sources of error:
Positioning error due to heating of the ball screw
Reversal error
Kinematic error due to pitch error of the ball screw
Direct linear measurement devices are therefore essential for machines with high demands on positioning accuracy and machining speed. All HEDELIUS machining centres are equipped with direct measuring systems as standard.
Factory production.
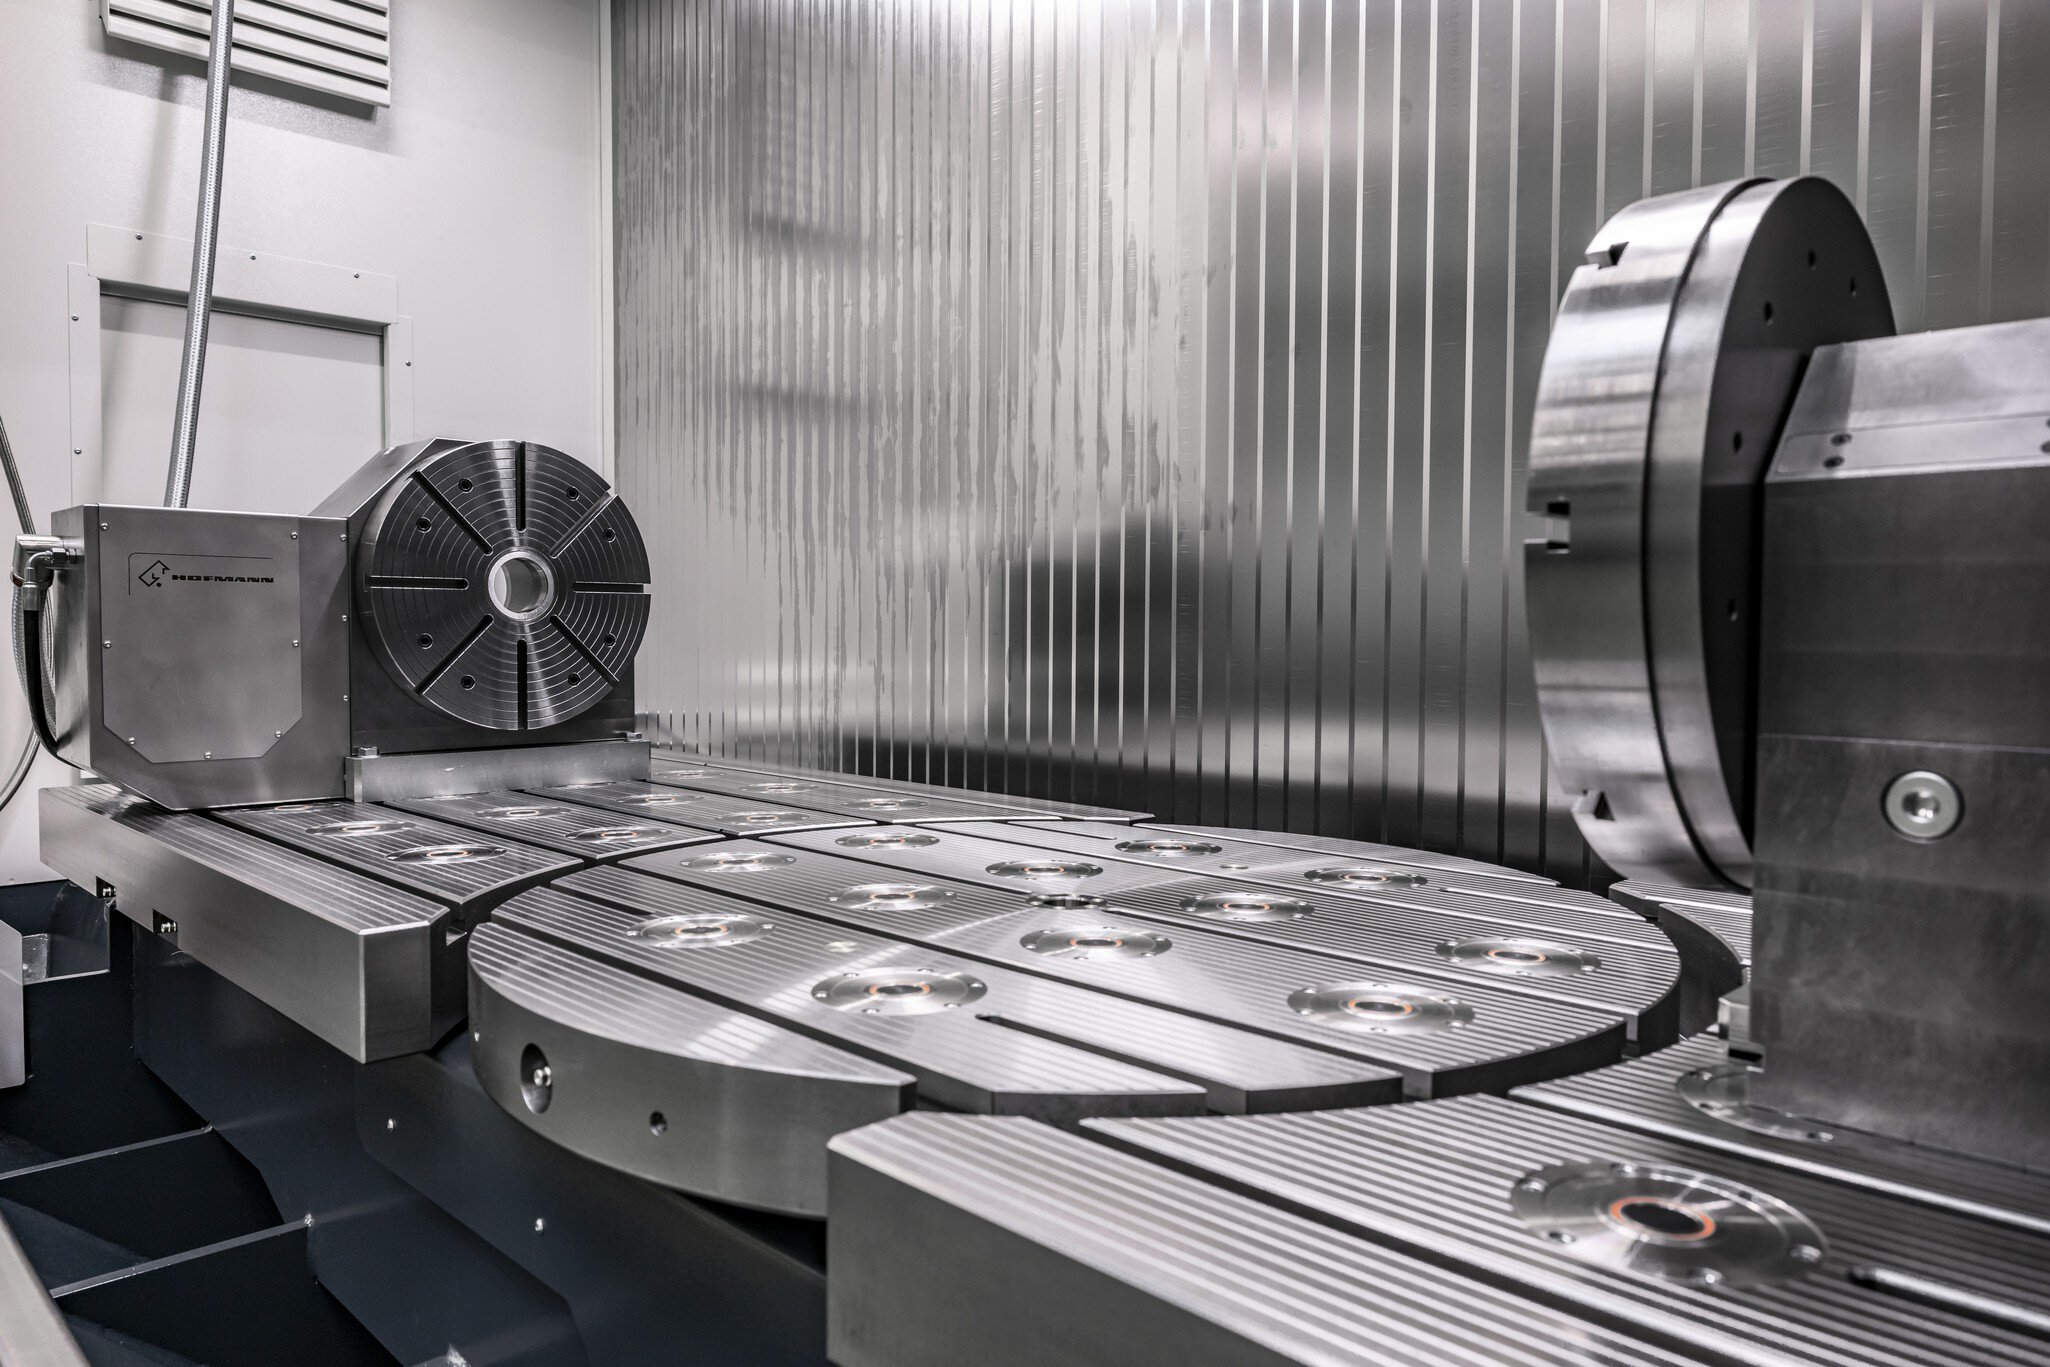
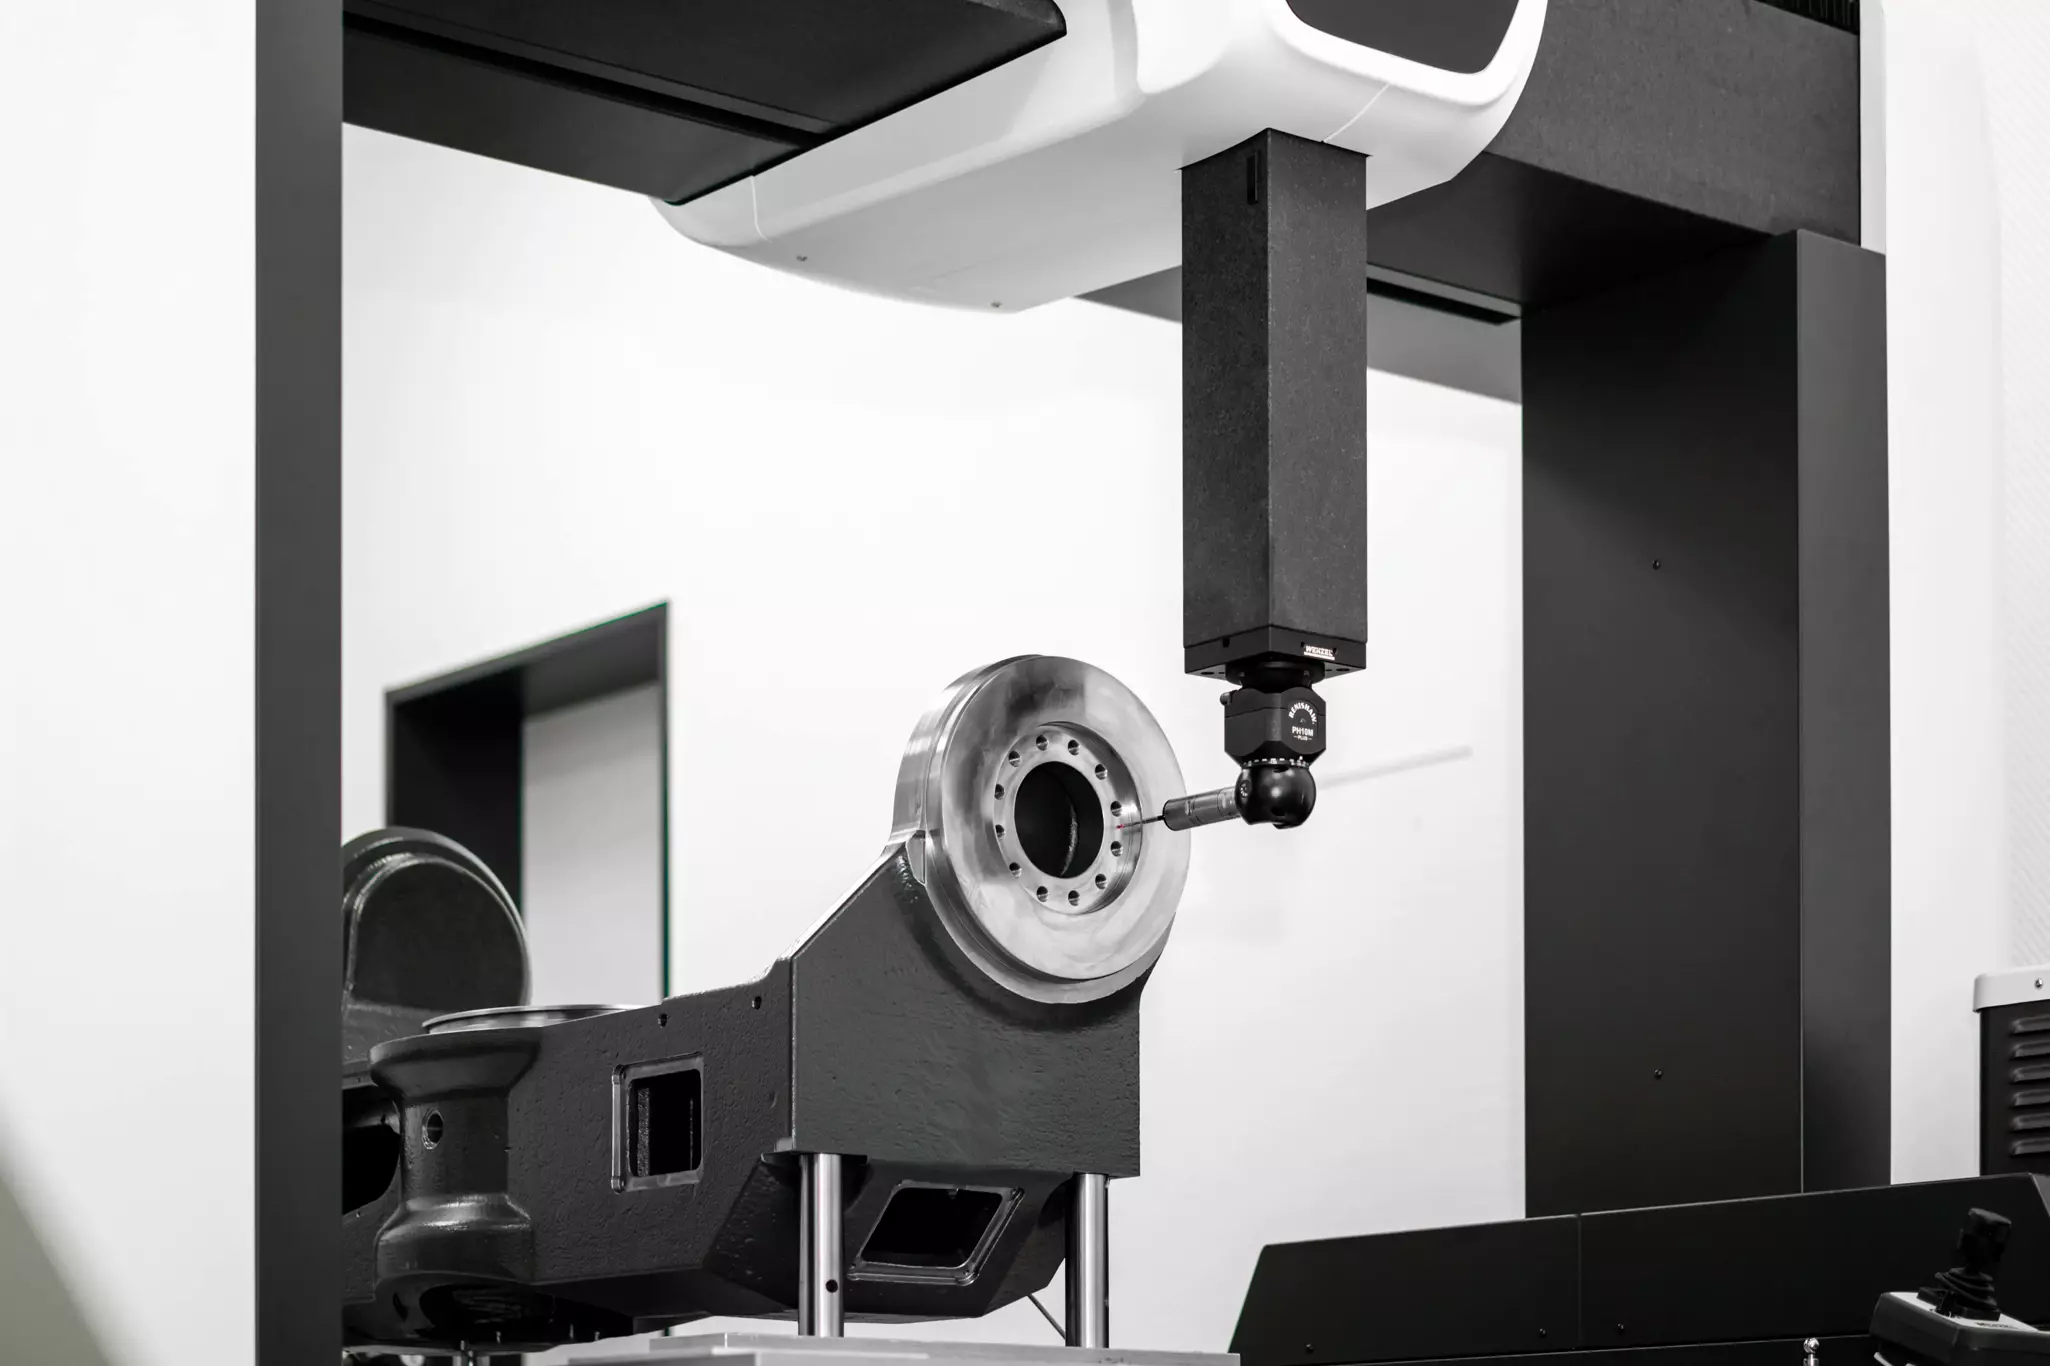
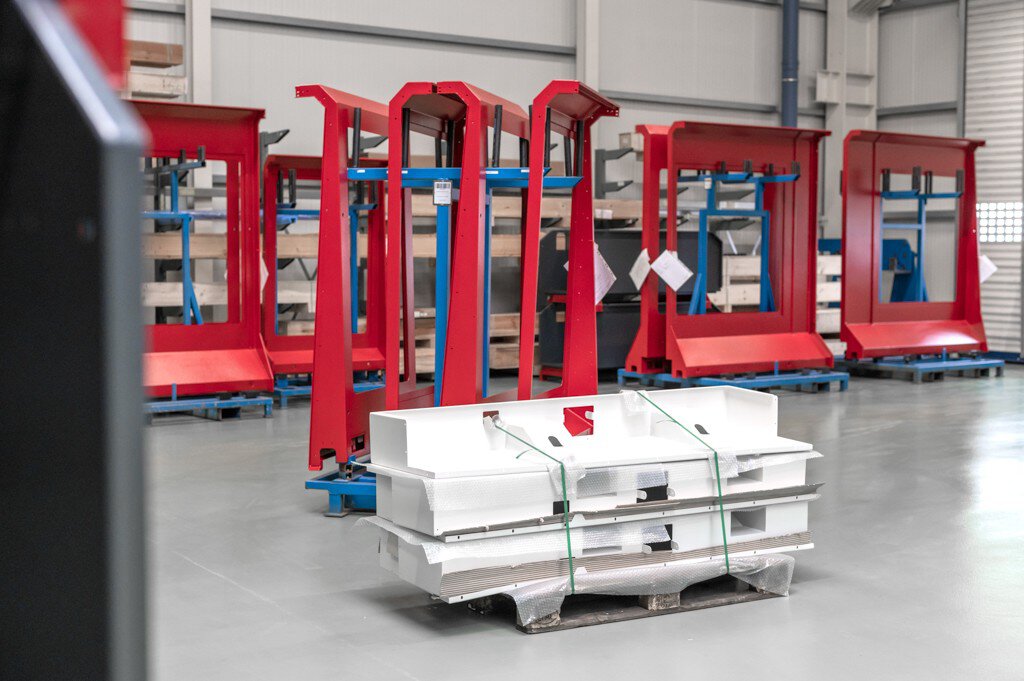
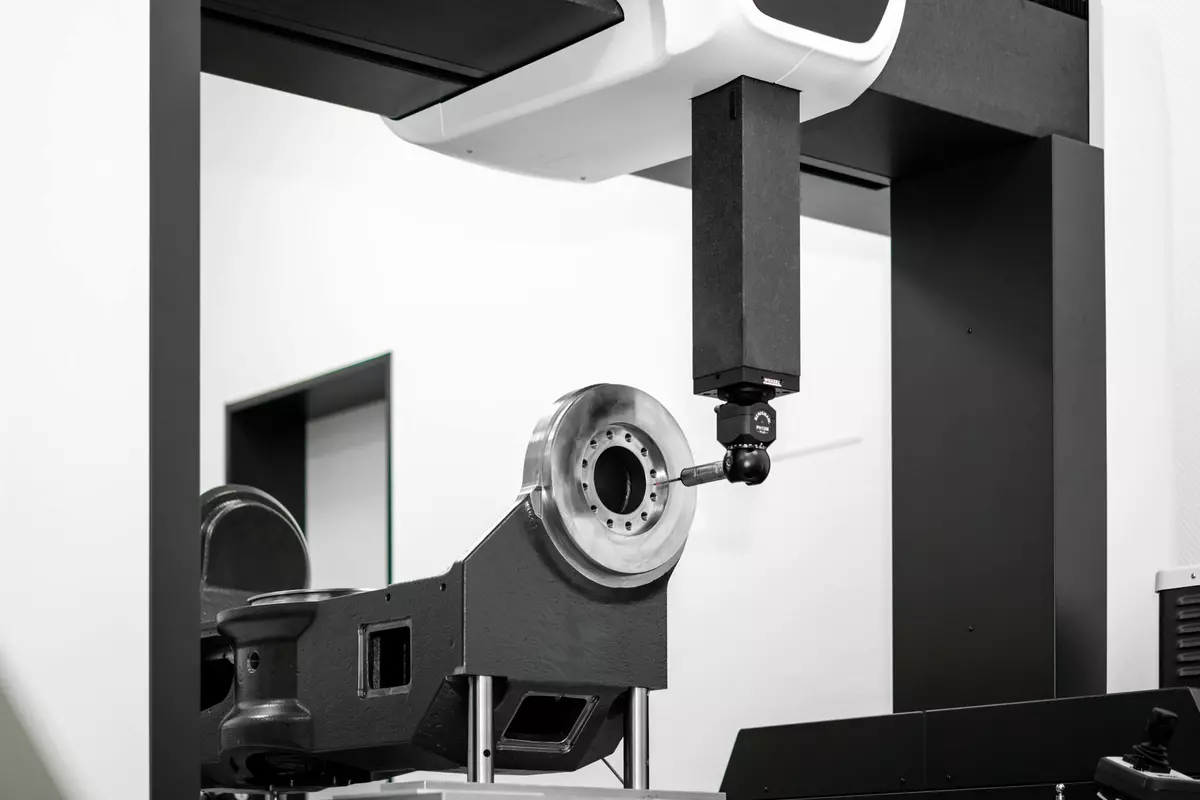
Critical assemblies such as travelling columns, beds and rotating/swivelling table units are manufactured and measured in-house at HEDELIUS. As a result, we not only always keep an eye on quality, but also recognise the possibilities and limits of modern chipping in day-to-day use. This process knowledge flows permanently into improving our products and advising our customers.
Guides and straightness.
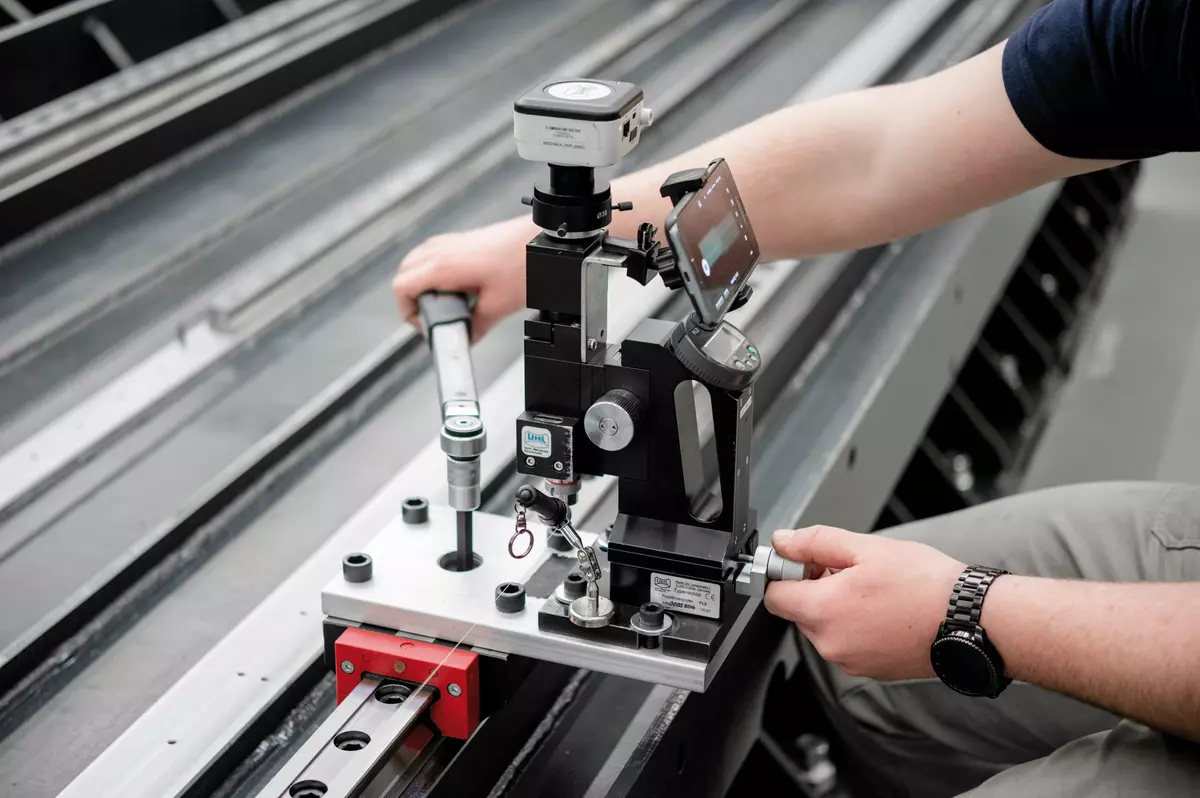
The alignment of the guideways requires special care and experience. HEDELIUS uses pre-aligned roller guides from German and Swiss manufacturers. Fine alignment using optical measuring technology ensures that the guideways of the Y-axis of an ACURA 65, for example, are mounted with a straightness of no more than 5 µm. At the end of assembly, the positioning precision, repeat precision, straightness and backlash of the linear axes are finally checked and documented using a laser interferometer. For example, the positioning accuracy of the linear axes is regularly less than 6 µm in accordance with ISO 230-2. We will be happy to give you an insight into the internal processes and acceptance reports as part of a factory tour.
Measurement systems on round axes.
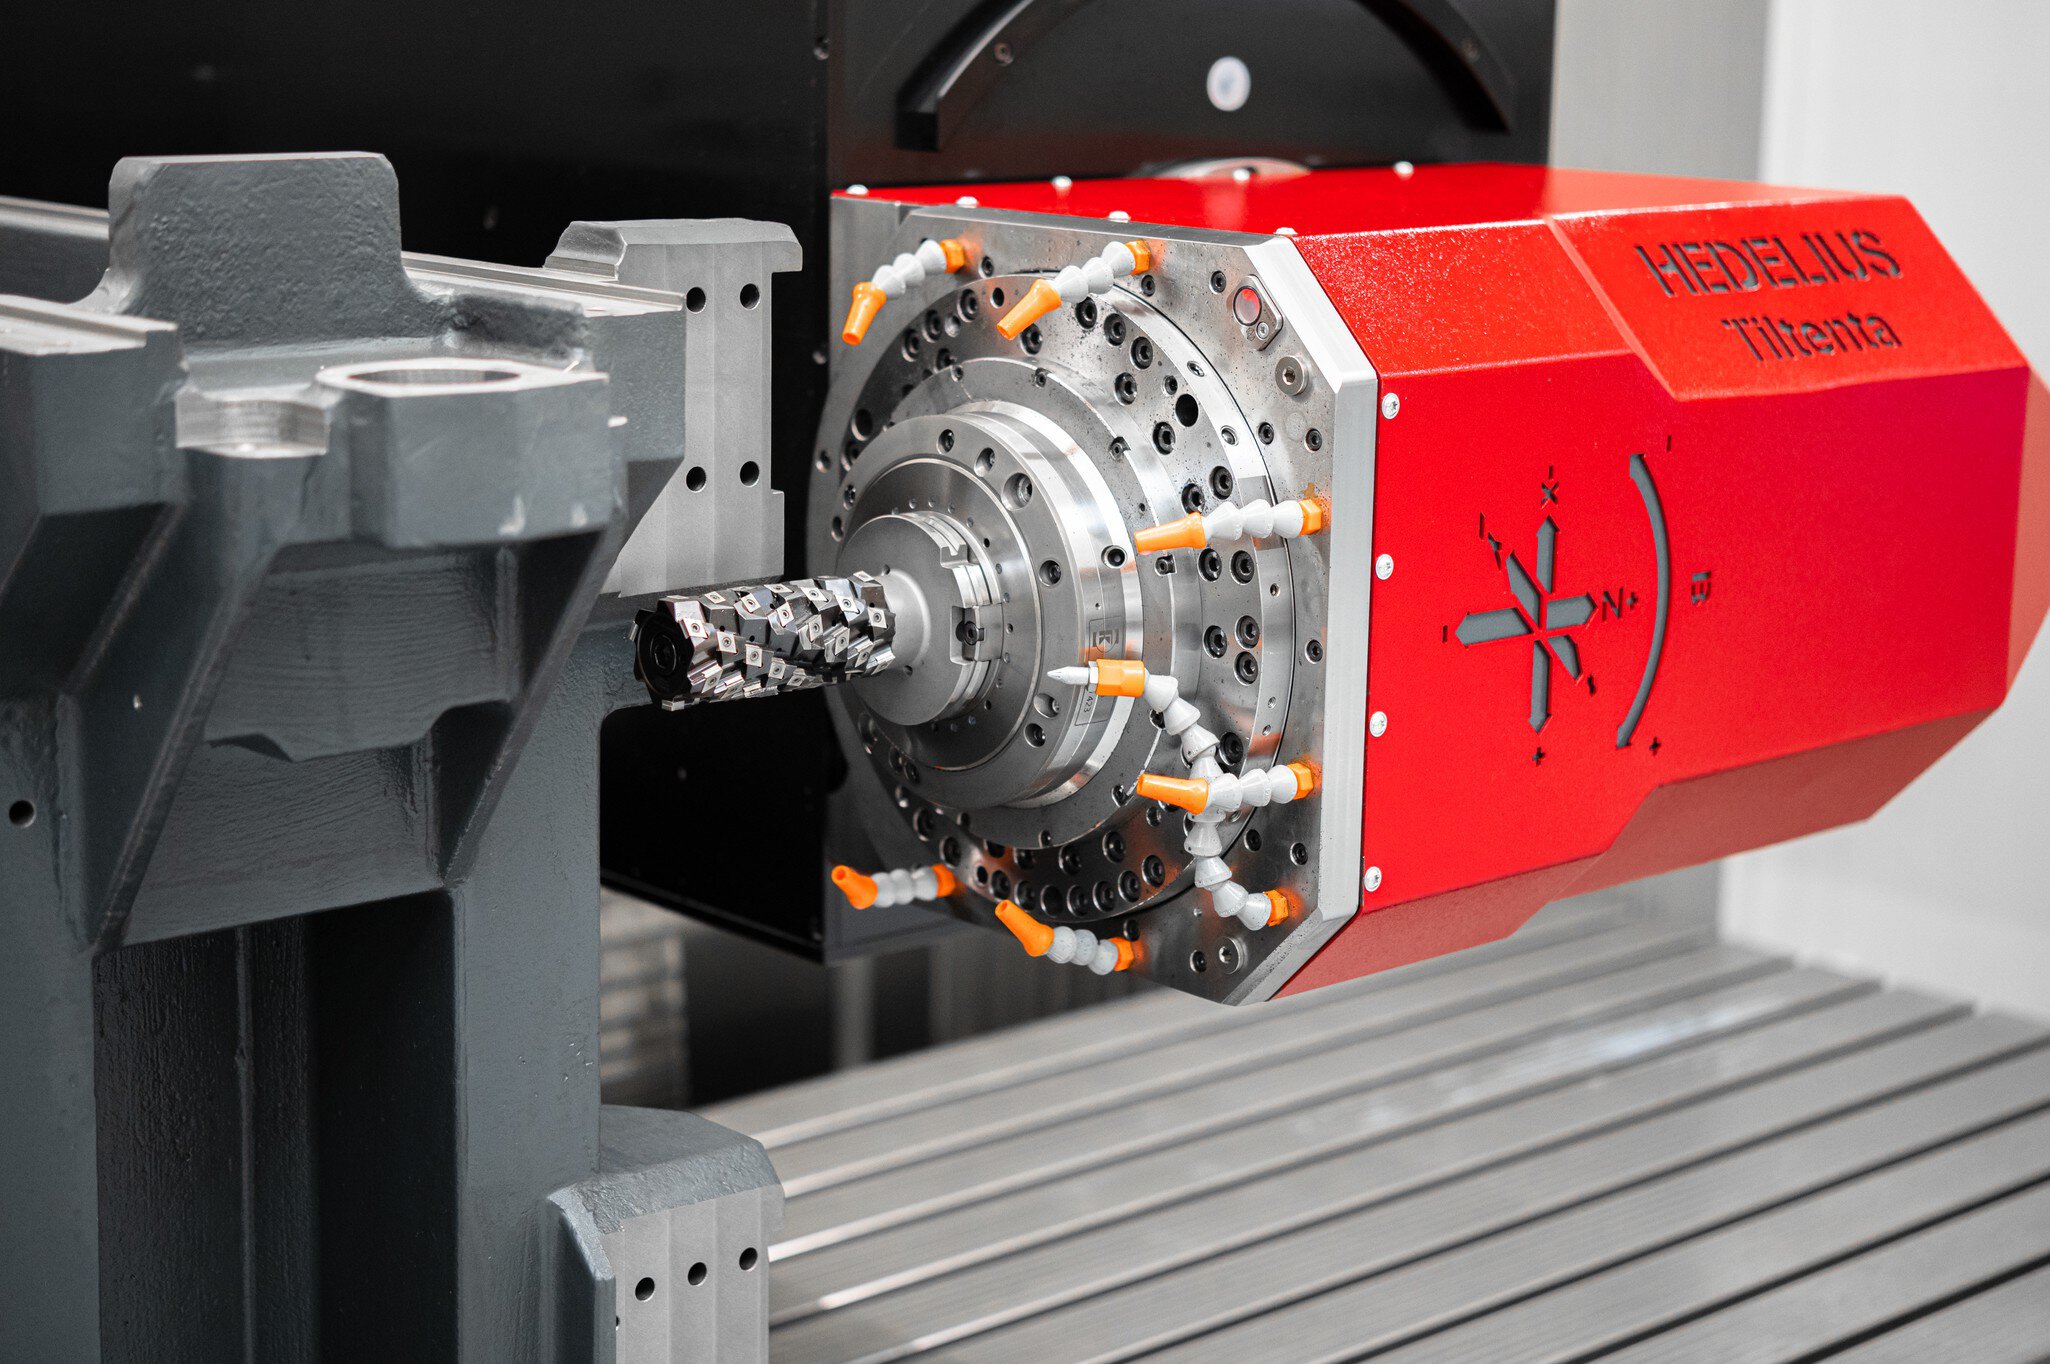
In 5-axis machining centres, the accuracy of the measuring systems has a significant influence on the angularity and parallelism of surfaces and bores. For this reason, HEDELIUS also uses direct angle encoders in the centre of each rotational axis in the integrated rotary tables, the swivel spindle drives and the rotating/swivelling table units. On request, we can use laser-based angle measurement devices to measure the positioning accuracy of rotational axes with a resolution of ±1" and calibrate the axes for maximum positioning accuracy. As a result, positioning accuracies of less than ±5" can already be achieved with series components. For some models, it is also possible to optionally equip the C axes with angle measurement devices in a higher accuracy class to open the positioning accuracy to less than ±2.5".

IT6 circular accuracy.
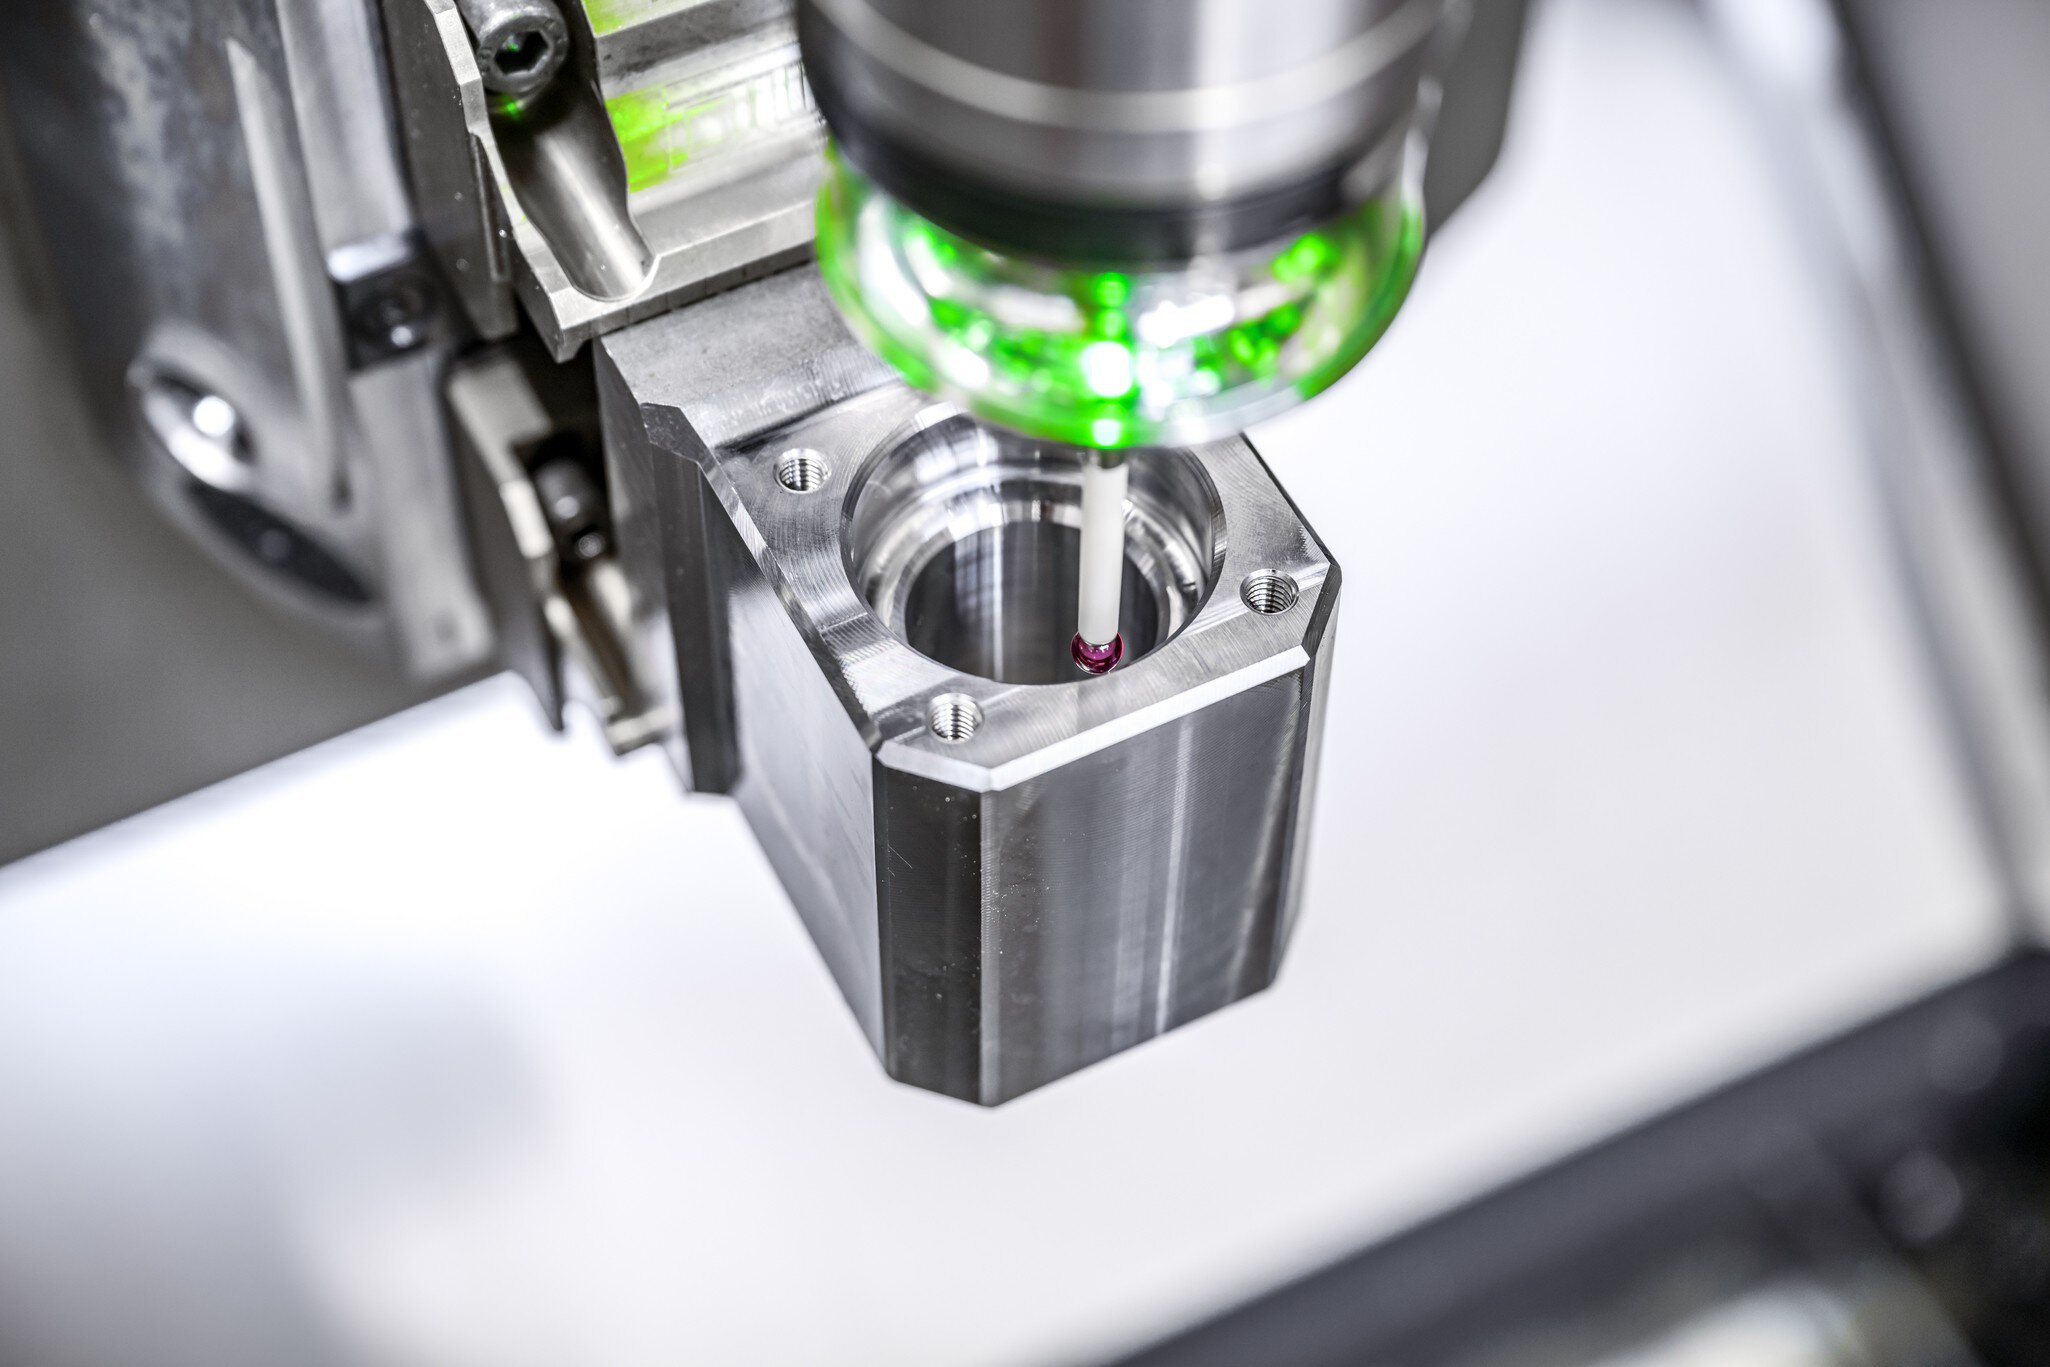
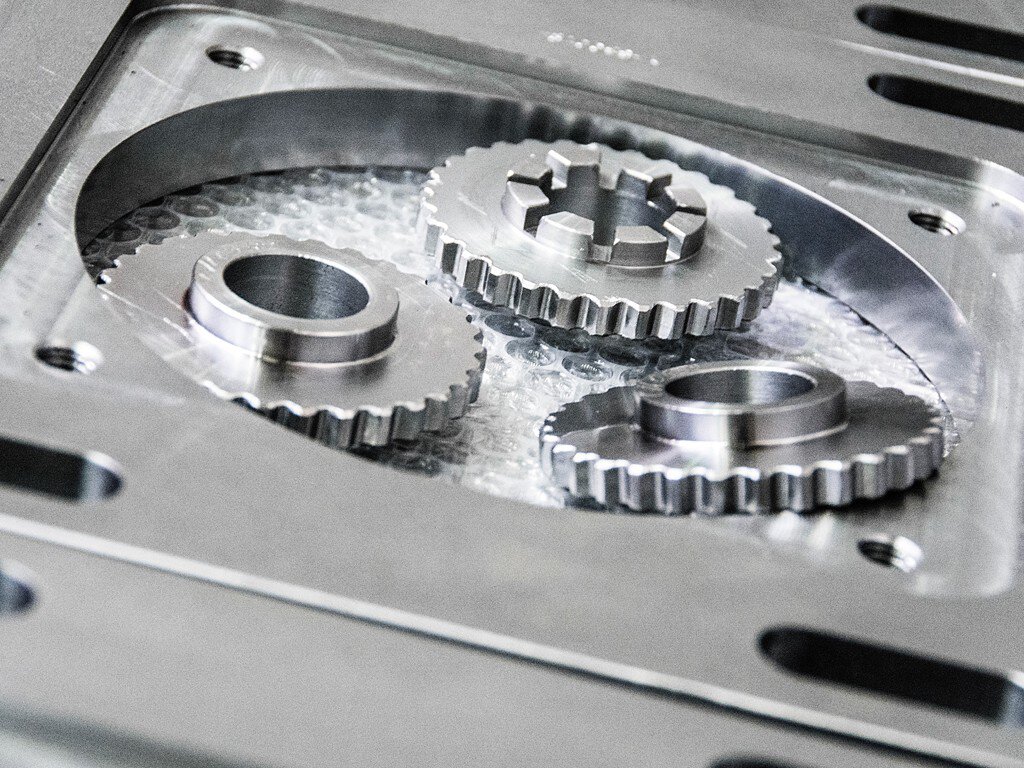
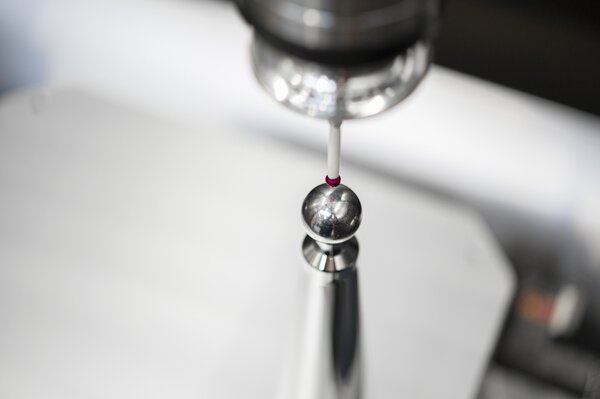
The Renishaw circularity test has established itself as a quick and simple test method for the accuracy of machining centres. The measurement provides information about the interaction of two linear axes and the accuracy of a circular movement within a few minutes. In most cases, the slip-stick-free roller guides in combination with direct path measuring systems and high angular accuracy enable the milling of fits in a quality of IT6, which reduces production times and the number of spindle tools required. We would be happy to demonstrate the high circular form accuracy with our Renishaw measurement device.
Spindle cooler and temperature compensation.
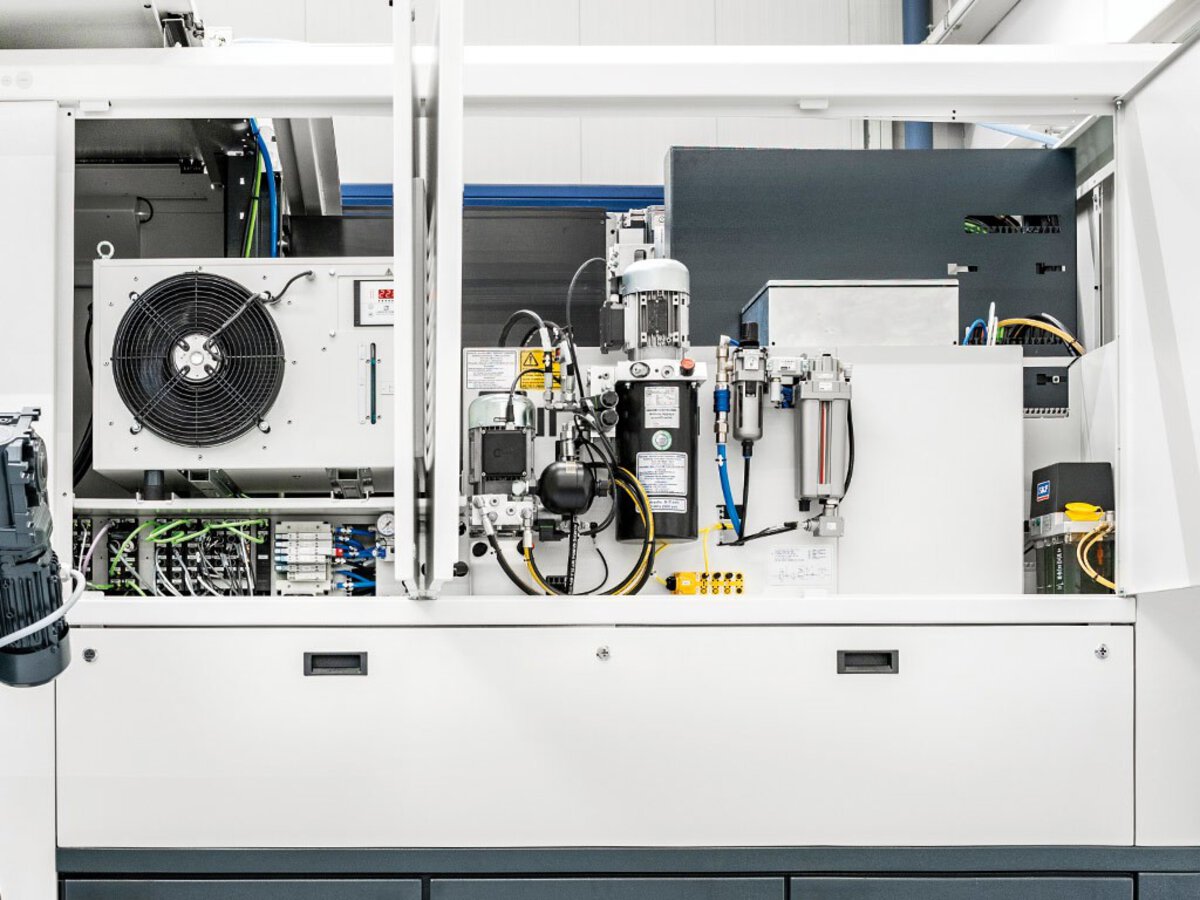
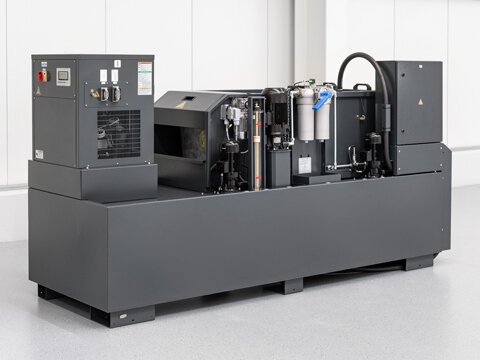
HEDELIUS equips its machining centres with spindle coolers to dissipate the heat generated in the milling spindle. The cooling already achieves increased thermal stability as standard. However, as not all of the heat can be dissipated by the spindle cooler, HEDELIUS optionally installs temperature sensors on the spindle, travelling column and, in some cases, on the round axes to compensate for structure displacement via the control system.
